| | |
Warning: This infobox is missing the following parameters: unit2, unit1
- "This is where the fun begins!"
- ―Anakin Skywalker
The Battle of Coruscant was a battle that took place over Coruscant during the final days of the Clone Wars between the Galactic Republic and the Confederacy of Independent Systems. The battle began when the Separatists launched a massive assault on Coruscant, the Republic's capital. It was orchestrated by the Sith Lord Darth Sidious, who was secretly Supreme Chancellor Palpatine of the Republic. Sidious arranged for himself to be kidnapped, as Palpatine, by the cyborg General Grievous as part of a plot to bring Jedi Knight Anakin Skywalker closer to the dark side of the Force. Two Jedi, Obi-Wan Kenobi and Anakin Skywalker, flew into the heart of the massive battle, determined to rescue Palpatine from CIS capture. They succeeded in boarding the Invisible Hand, and after a lengthy duel, Skywalker killed the Confederacy leader Count Dooku at the behest of Palpatine. The duo, along with the now-freed Chancellor, were unable to escape, however, as Grievous's personal battle droids captured them. Skywalker and Kenobi were able to best his MagnaGuards, forcing the General to flee. With that, the Separatist forces retreated, having lost much of their fleet. Chancellor Palpatine was safe in Republic hands. However, the Jedi were unaware that Palpatine had orchestrated the battle, and was also testing Skywalker, whom he considered a good choice for his new apprentice.
Prelude
Prior to the attack, the Outer Rim Sieges had enmeshed Republic and Separatist warships in vast battles in the spirals of the galaxy. As a result of this, most of the Republic's Jedi were locked up in battles far away from the Core Worlds, giving the Separatists an opportunity to deal a mighty blow to the Republic by attacking Coruscant and kidnap Supreme Chancellor Palpatine, leader of the Republic. Unknown to all but a few, Palpatine was secretly the Sith Lord Darth Sidious, and was controlling both sides of the war, in hopes of obtaining his true goal—complete galactic control. In order to do so, Palpatine planned a raid on the capital and had General Grievous, Supreme Commander of the Droid Army, assemble an armada of Separatist battleships—led by the Providence-class dreadnought Invisible Hand—for a strike on Coruscant.[3]
The battle
Strike on Coruscant
General Grievous and Count Dooku managed to reach Coruscant with a massive fleet and proceeded to attack the Republic Navy vessels defending the planet.[3] Grievous slipped onto the planet surface with the intent to capture the Supreme Chancellor, coming into contact with Jedi Master Shaak Ti, who attempted to stop Grievous. Ti's efforts proved unsuccessful, however, and Grievous managed to abduct Palpatine and take him back to the Invisible Hand.[5]
Jedi Rescue

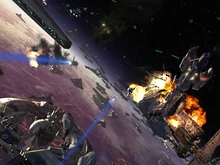
A pair of missiles pursue Obi-Wan Kenobi's starfighter.
As Jedi Knight Anakin Skywalker met with his former Padawan, Ahsoka Tano,[10] who was preparing to launch an assault against Darth Maul's forces on the planet Mandalore,[2] Skywalker learned that the Separatists had kidnapped Chancellor Palpatine and both he[10] and Jedi Master Obi-Wan Kenobi were forced to come to the Chancellor's rescue. As they piloted their fighters towards Grievous' flagship, they found hundreds of Vulture fighters and tri-fighters swarming around the general's command ship, and the Jedi engaged the fighters with the help of a clone fighter squad. The clones took heavy casualties in the ensuing dogfight, and Skywalker wanted to go back and help them. Kenobi, however, would not let him, insisting that they had to stick to the mission. Soon, Kenobi and Skywalker were attacked by a swarm of Vulture droids. The droids fired missiles at them, but Skywalker managed to evade them by rolling, which caused the missile's' flight paths to intersect. Kenobi, however, was not able to avoid the missiles targeting him, and they eventually exploded, releasing a horde of buzz droids that attached themselves to his ship's hull. They destroyed his astromech droid R4-P17, and the droids were rapidly disabling Kenobi's Jedi interceptor as well, before Skywalker managed to save his friend by firing on the buzz droids as well as smashing into Kenobi's ship and crushing them. In doing so, however, he also damaged Kenobi's interceptor. One of the surviving buzz droids managed to climb aboard Anakin's interceptor, but R2-D2, at the guidance of Kenobi and Skywalker, managed to deactivate it by zapping it in the center eye with one of his electrical tools.[3]
As they hurtled toward Grievous's flagship, Skywalker, after being reminded by Kenobi and R2 that the flagship's shields were still up, destroyed the atmospheric containment shield protecting the hangar bay entrance. With Kenobi's ship's engines failing, the two fighters breached the vessel's defenses and crashed in the hangar, where the Jedi made quick work of the security droid resistance. After R2-D2 located Palpatine's homing beacon, they headed towards the signal emanating from the upper observation deck.[3]
But Grievous knew that the Jedi would come aboard his flagship, as Dooku had predicted it beforehand. He was requested on the bridge via the ship's captain and told that the Jedi were now being tracked.[3]
As the two Jedi headed towards Palpatine, they boarded a turbolift upon evading destroyer droids, where they Kenobi and Skywalker found a battalion of B1 battle droids. Their request for the Jedi Knights to drop their weapons, however, backfired when it caused them to drop their own guard instead, giving the Jedi Knights an opportunity to cut them all down. After a brief misadventure when the lift they were using was stopped, Kenobi and Skywalker were assisted by R2-D2 in getting to the top of the Invisible Hand's tower, where they found Palpatine being held captive. Similarly, R2-D2 was briefly captured by two patrolling B2 super battle droids shortly thereafter, although R2-D2 managed to escape by spraying them with oil, and then igniting the oil when activating his thrusters to fly off, burning them to inoperability.[3]
Duel with a Sith
- "Get help. You're no match for him. He's a Sith Lord."
"Chancellor Palpatine, Sith Lords are our specialty." - ―Palpatine and Obi-Wan Kenobi

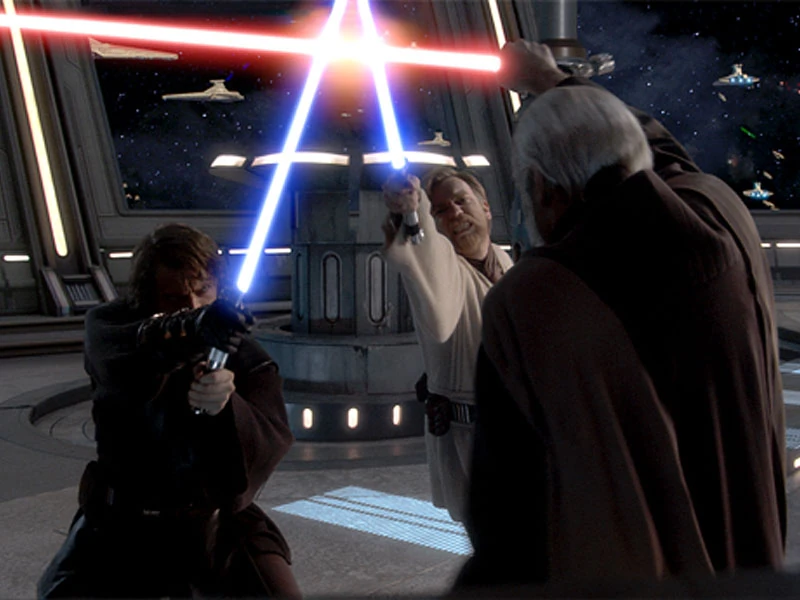
The duel on the Invisible Hand.
However, before the Jedi were able to release Palpatine, Dooku arrived with two B2 battle droids. He jumped down from the balcony and engaged the Jedi in a fierce duel. However, he found himself unable to fight both Skywalker and Kenobi at once, so he Force-pushed Kenobi away from the duel so he could focus on fighting Skywalker. However, Dooku still began to tire as Skywalker drove him back up the stairs to the balcony. Kenobi, quickly recovering, brought down Dooku's escort and continued to attempt an attack on him from behind. Dooku, however, simply kicked aside Skywalker and incapacitated Kenobi more permanently, by slamming him into a railing with the Force and causing debris to fall on him. Angered, Skywalker kicked Dooku back off the balcony and once again engaged him. Sensing that Skywalker was holding back his anger and hate, Dooku taunted him, hoping to disrupt his concentration. However, it had the opposite effect: it infuriated Skywalker to the point where he tapped into the Dark Side. He attacked Dooku with his rage and hatred, throwing fast, heavy attacks against the Sith Lord. Dooku could barely deflect his opponent's blows, let alone fight back, and was even singed by his own blade at one point. Finally, Skywalker managed to overpower Dooku's defense and cut off his hands. Grabbing Dooku's lightsber with his offhand, he held both blades in a scissor position around the now-defenseless Sith Lord's neck.[3]
Still bound to his chair, Palpatine commended Skywalker's victory, and then told him to kill Dooku on the spot. Initially, Skywalker was hesitant to do so, as killing a defensless opponent-which Dooku now was-was against the Jedi Code. However, with Palpatine goading him on, he gave into his hatred and beheaded Dooku.[3]
Continued battle
- "All batteries, fire, fire!"
- ―The captain of the Invisible Hand, after engaging a Star Destroyer

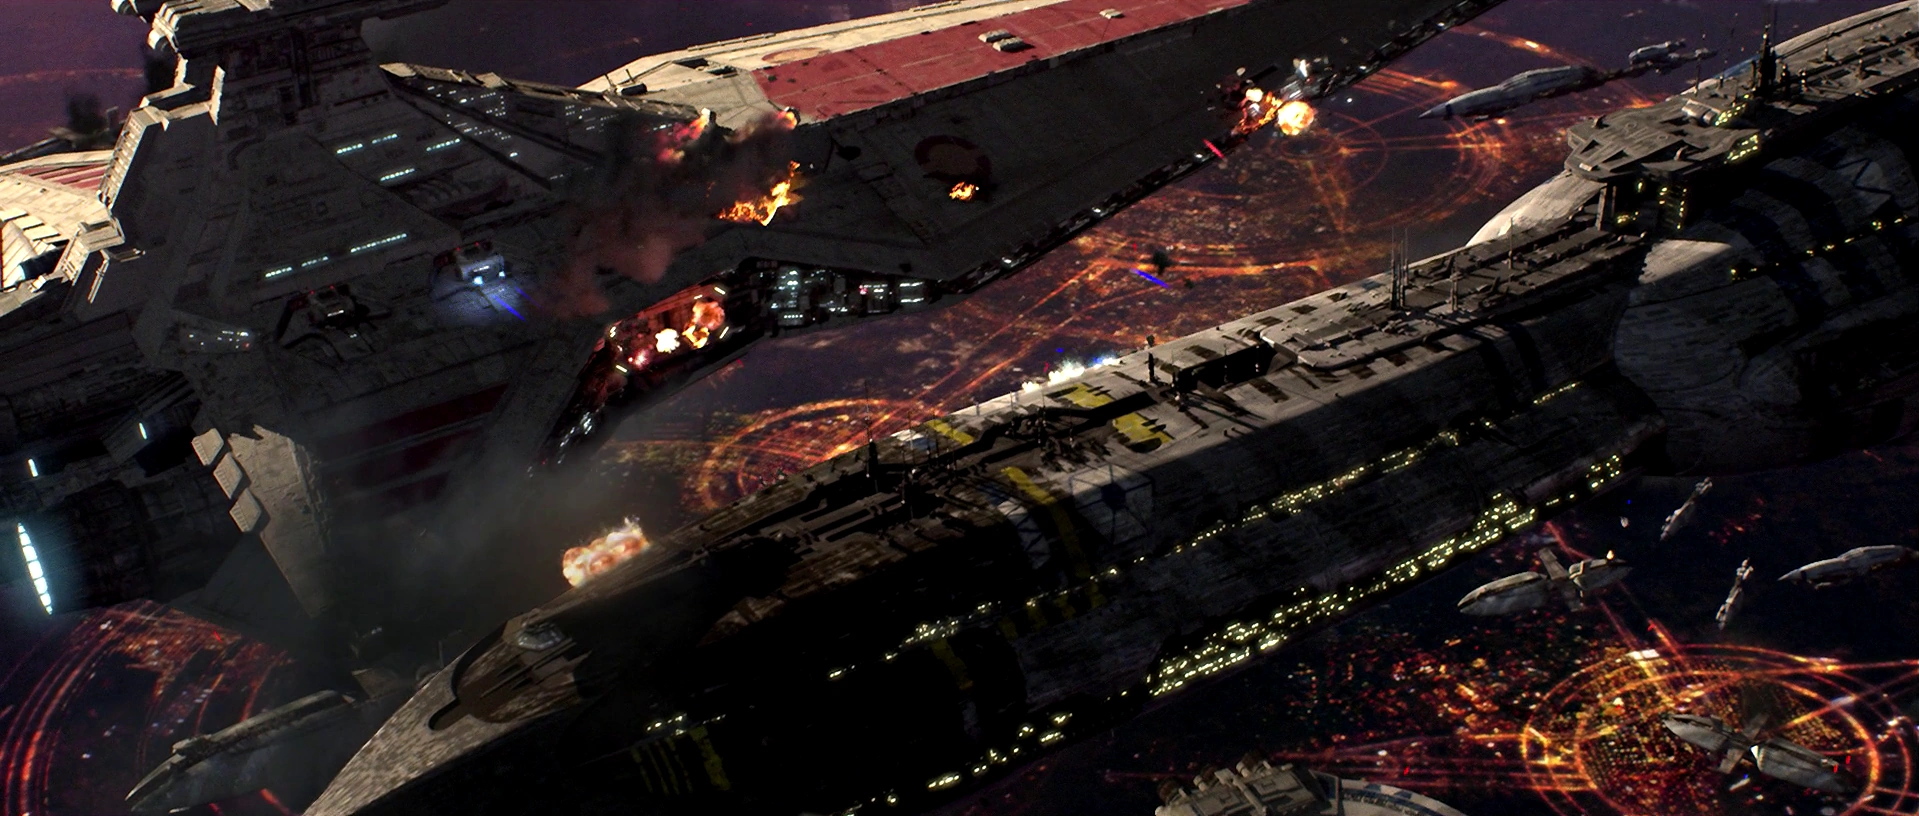
A Venator-class Star Destroyer and the Invisible Hand exchange turbolaser fire.
As the duel ended, The Invisible Hand entered a firefight with a Venator-class Star Destroyer, getting it's systems damaged, causing it to lose control. Sustaining heavy damage, the ship momentarily fell towards the planet below before regaining control. With many essential systems, failing, however, the Invisible Hand had become a decaying space wreck. Skywalker's priority was now escape. Gathering the unconscious Kenobi against Palpatine's request to leave him behind, they headed for the turbolifts.[3]
Regaining consciousness soon after, Kenobi, Skywalker, and the Chancellor headed for the hangar. Before they could reach it, however, Grievous learned that they were in Hallway 328 of the Invisible Hand and ordered that the ray shields be activated; as such, the shields dropped on the Jedi and Palpatine, trapping them. Skywalker was sure that R2-D2 would arrive and release the shields, but as the astromech came screeching in, droidekas unfolded and aimed at him; a super battle droid even kicked him down to his back after being zapped in the blaster arm. The Jedi, along with the Chancellor and R2-D2, were captured and taken to the bridge and brought before Grievous.[3]
The cyborg took the Jedi's lightsabers and boasted about adding them to his collection. However, with the aid of R2-D2, who distracted the guards with his lightning gun, Skywalker and Kenobi were able to summon their lightsabers back as Grievous ordered his MagnaGuards to dispose of the Jedi. After a quick battle, the Jedi easily defeated the droids and closed in on Grievous, intent on capturing him. Grievous, however, grabbed an electrostaff that one of his MagnaGuards had dropped and threw it into the damaged bridge viewport, shattering it.

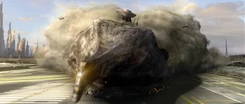
The Invisible Hand lands on Coruscant toward the end of the battle.
Grievous allowed himself to be sucked out into space to escape the Jedi, and later re-entered the ship through a hatch. In an attempt to foil the Jedi's escape, he launched every escape pod on his flagship and fled to a nearby Trade Federation battleship in one of them. The Invisible Hand began taking much more serious damage, and began a meteoric plunge toward Coruscant.[3]
Taking control of the helm, Skywalker attempted to pilot the wreck to a safe landing on Coruscant. Rapidly losing structural integrity, the entire rear half of the Invisible Hand tore off due to the atmospheric stress. In spite of this this, Skywalker, Kenobi, and Artoo managed to successfully crash-land the ship on a long runway in Galactic City. With the loss of their flagship, the failure of their main objective, and the death of Count Dooku; Grievous and the surviving elements of the depleted Separatist armada retreated in disgrace to the Outer Rim.[3]
Aftermath
- "Soon I will have a new apprentice, one far younger and more powerful."
- ―Darth Sidious, conferring with General Grievous after the battle

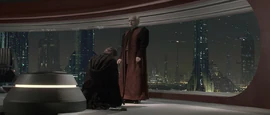
Anakin Skywalker becomes Darth Sidious' new apprentice.
With the loss of Dooku, Grievous became the Confederacy's new Head of State,[6] but it greatly destabilized the Separatist control structure. Without the assurances of victory from Dooku, the members of the Separatist Council, particularly Nute Gunray, began to doubt the abilities of their new leader to keep them safe for much longer. Meanwhile the Jedi Council made tracking down Grievous and bringing him to justice their utmost priority in hope of finally ending the war.[3] The Jedi Order would go on to track him to Utapau, where they launched a battle in which Kenobi confronted and killed him.
Palpatine, meanwhile, successfully achieved his goal of converting Skywalker to the dark side and took the fallen Jedi Knight as his new apprentice, replacing Dooku. The Chancellor dubbed Skywalker as Darth Vader and executed Order 66, branding the Jedi as traitors. With the Jedi Order destroyed, Palpatine transformed the Republic into the Galactic Empire.[3]
Behind the scenes
The Battle of Coruscant was created for Star Wars: Episode III Revenge of the Sith, where it serves as part of the exposition. In the DVD commentary for Revenge of the Sith, George Lucas said that he wanted the Battle of Coruscant to serve as a bridge between the prequel and original trilogy, utilizing ARC-170s as the precursor to X-wings, and including vulture droids from The Phantom Menace.
Appearances
- Star Wars Journeys: Beginnings
- Star Wars: Episode III Revenge of the Sith (First appearance)
- Ahsoka (Indirect mention only)
- Lords of the Sith (Mentioned only)
- A New Dawn (Mentioned only)
 Star Wars Rebels — "Shroud of Darkness" (Indirect mention only)
Non-canon appearances
Sources
Notes and references
- ↑ Kanan 11: First Blood, Part V: The Fog of War
- ↑ 2.0 2.1 Ahsoka
- ↑ 3.00 3.01 3.02 3.03 3.04 3.05 3.06 3.07 3.08 3.09 3.10 3.11 3.12 3.13 3.14 3.15 3.16 3.17 3.18 3.19 3.20 3.21 3.22 3.23 3.24 3.25 3.26 3.27 3.28 3.29 3.30 3.31 3.32 3.33 3.34 3.35 3.36 3.37 3.38 3.39 3.40 3.41 3.42 3.43 3.44 3.45 3.46 3.47 3.48 3.49 3.50 3.51 3.52 3.53 3.54 3.55 3.56 3.57 3.58 3.59 3.60 3.61 3.62 3.63 3.64 3.65 3.66 3.67 3.68 3.69 3.70 3.71 Star Wars: Episode III Revenge of the Sith
- ↑ Star Wars: Galactic Atlas
- ↑ 5.0 5.1 5.2 5.3 Ultimate Star Wars
- ↑ 6.0 6.1 6.2 6.3 6.4 6.5 6.6 Star Wars: On the Front Lines
- ↑
 Darth Sidious Biography Gallery in the Databank (backup link)
- ↑ ARC-170 Starfighter in the Encyclopedia (content now obsolete; backup link)
- ↑ 9.0 9.1 9.2 Star Wars: Complete Locations
- ↑ 10.0 10.1 Star Wars Rebels — "Shroud of Darkness"