In 2 BBY, Phoenix Cell undertook a second mission to the planet Ryloth to recover the Syndulla Kalikori from the Galactic Empire. Hera Syndulla, Ezra Bridger, and Chopper infiltrated the Syndulla residence, which had become the new Imperial headquarters in the Tann Province. Meanwhile, the Free Ryloth Movement leader Cham Syndulla, Gobi Glie, Numa, and the other Spectres staged a diversionary attack in the Tulara Ravine. Hera and Ezra were captured by Grand Admiral Thrawn and his subordinate Captain Slavin. Thrawn added the Kalikori to his art collection and delegated the rest of the military operations to Slavin. Captain Slavin then used Hera and Ezra as hostages to force Cham to surrender himself. However, Hera got Chopper to plant explosives throughout the building. This created an explosion which allowed the two rebel factions to escape.
Prelude[]

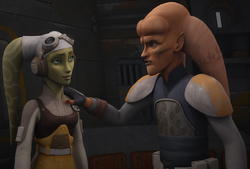
Cham and Hera, key rebel leaders
After joining forces to steal an Imperial Quasar Fire-class cruiser-carrier, Hera Syndulla repaired relations with her father Cham Syndulla, the leader of the Free Ryloth Movement. As a result, the Free Ryloth movement developed stronger ties with the rebellion including Hera's rebel cell, the Spectres.[3][1] In 2 BBY,[2] the Galactic Empire dispatched a new commander named Grand Admiral Thrawn to quell the Free Ryloth movement. By studying Twi'lek culture, art, history, and philosophy, Thrawn was able to devise successful tactics that led to the capture of Tann Province, the home of the Syndulla clan. Before that, previous attacks under Captain Slavin had been clumsy.[1]
As a result, the Free Ryloth movement lost many fighters and Cham was forced to abandon from his family home. He was unable to bring along many things including his late wife's heirloom, a Kalikori artifact. While attempting to rendezvous with Hera's ship Ghost for a supply run, Cham and Numa were pursued by Imperial scout troopers on 614-AvA speeder bikes and an Imperial Troop Transport. Riding on blurrgs, the rebels managed to outrun them long enough for the Ghost to destroy the transport and scatter the scout troopers. Cham and Numa rode their blurrgs aboard the Ghost but were followed by a scout trooper. The scout trooper was promptly knocked out by the Lasat rebel Garazeb Orrelios while Ezra Bridger took possession of his armor.[1]
Recovering the Kalikori[]
Fighting on two fronts[]

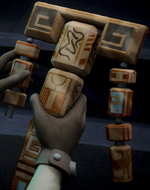
Hera and the Kalikori
Once aboard the Ghost, Cham reunited with his daughter and related the recent events on Ryloth. Cham admitted underestimating the new Imperial commander as previous attacks had been clumsy and ineffective. After learning about the loss of the Kalikori, Hera vowed to recover the heirloom in order to honor the memory of her late mother. Despite her insistence on going alone, Cham, Numa, Gobi Glie, and the other Spectres volunteered for the mission. As part of the plan, Hera along with Chopper and Ezra, who was disguised as a scout trooper, would travel to the Syndulla residence to recover the object. Meanwhile, Cham and the other rebels would stage a diversionary attack on Imperial forces in the Tulara Ravine.[1]
Putting their plans into action, the two rebel cells attacked a Troop Transport and an AT-DP in the Tulara Ravine. Hera and Ezra then took the opportunity to sneak away in a 614-AvA speeder bike. Upon arriving outside the settlement, Ezra managed to bluff his way in by pretending to be a scout trooper taking a capture Twi'lek rebel into Imperial custody. They arrived outside the Syndulla residence where they rendezvoused with Chopper, who was disguised as an Imperial astromech droid.[1]
The two then infiltrated Cham's former office where they recovered the object. Before they could sneak out through the front door, the two saw Grand Admiral Thrawn entering the building with Captain Slavin and two stormtroopers. The Imperials were discussing the recent rebel attack in the Tulara Ravine. Thrawn quickly deduced that the attack was a diversion to allow the rebels to enter the former Syndulla residence. Hera and Ezra tried to escape through the basement but found that the Imperials had established a command center there.[1]
The ultimatum[]
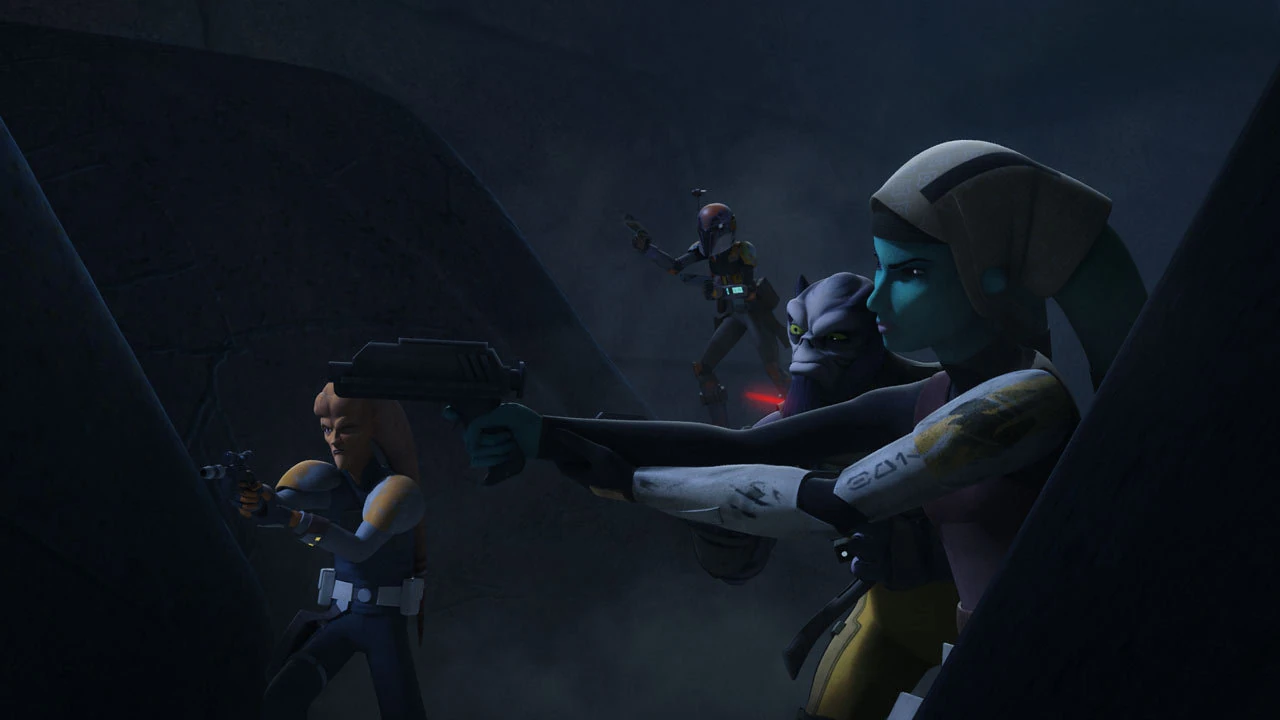
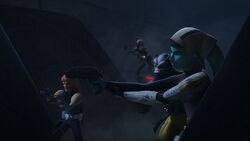
The Lothal and Ryloth rebels fighting in the Tulara ravine
With Chopper's help, Hera and Ezra tried to escape through the front door. While Chopper tried to talk to the stormtrooper sentries, Hera tried to sneak past them. Ezra hid behind a wall separator to provide backup. However, Hera ran into Slavin and Thrawn. Slavin mistook Hera for a servant and chastised her for not staying in the kitchen. However, Thrawn wanted to question the Twi'lek about her thoughts on the Imperial occupation and the Kalikori. Hera tried to pretend to be an impoverished servant trying to sell the Kalikori to support her family. However, Thrawn realized the cultural significant of the Kalikori and deduced that the servant was none other than Hera, the daughter of the rebel leader Cham. When Ezra tried to intervene, Thrawn stunned the youth and took Hera and Ezra prisoner.[1]
Thrawn then added the Kalikori to his art collection before delegating command to Captain Slavin. Meanwhile, Cham and the other rebels tried to flee their Imperial pursuers but were pursued by a second AT-DP walker. Despite Gobi's attempt to delay the walker by loosening rocks with a rocket launcher, they were unable to stop the walker. After a prolonged gun battle, Slavin used a hologram transmitter to issue an ultimatum to Cham. He threatened to execute Hera and Ezra if Cham failed to surrender by dawn. Loving his daughter, Cham decided to surrender himself in order to save her life. When Gobi protested, he designated Hera as his successor.[1]
An "enlightening experiment"[]
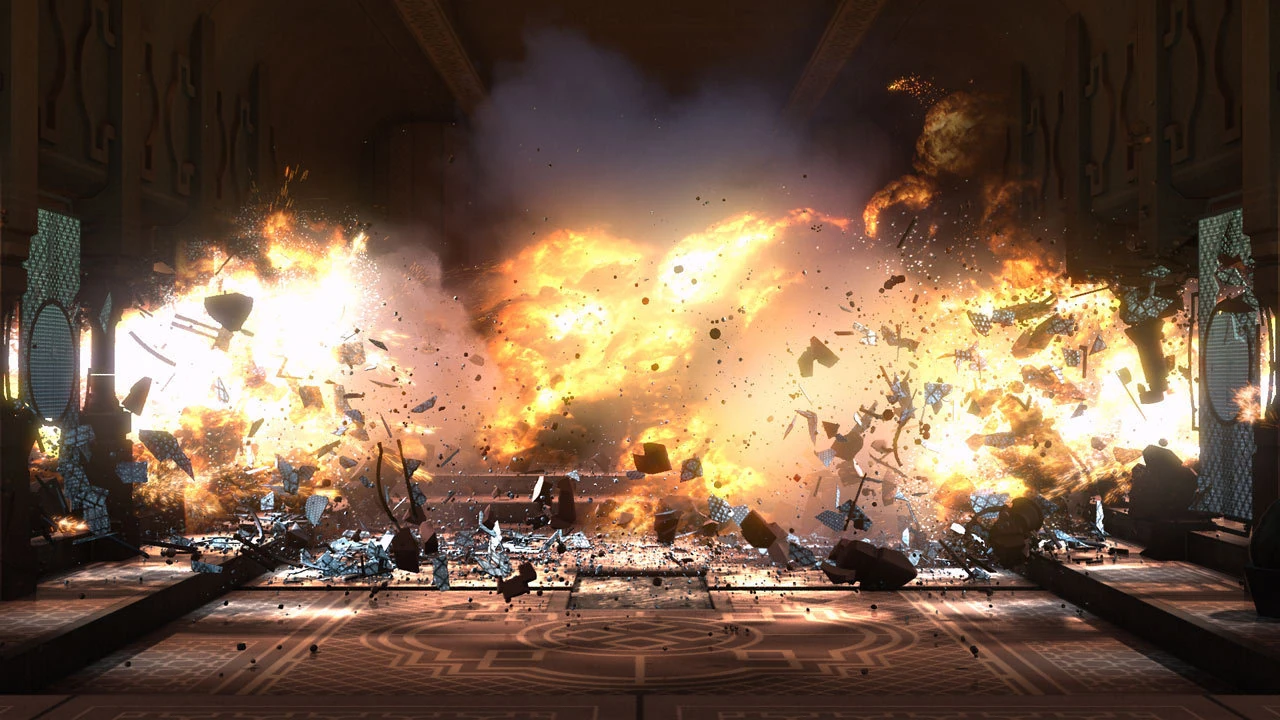
The Syndulla residence in flames
However, Thrawn and Captain Slavin failed to capture the third rebel infiltrator, Chopper. Disguised as an Imperial astromech droid, Chopper informed Hera and Ezra of the recent developments. Hera then came up with an escape plan that would also save her father. She told Chopper to steal explosives from the Imperial armory and plant them throughout the Syndulla residence. She planned to comply with the exchange but planned to snatch victory from her Imperial captors. Meanwhile, Slavin ordered his men to position themselves around the hangar. He planned to double-cross the Ryloth and Spectres by luring them into a trap; thus dealing a blow to the two rebel groups.[1]
At dawn, Slavin led Hera and Ezra out to meet Cham. Cham arrived promptly on the Ghost and disembarked. Slavin agreed to a simultaneous exchange and ordered his captives to walk. When Hera met Cham, she apologized that she was about to destroy their home. At that point, Chopper emerged and activated the explosives. This sent a shock wave throughout the house that knocked the Imperials to the ground. The rebels then took the opportunity to flee aboard the Ghost. Kanan Jarrus also used the Force to redirect a rocket fired by a stormtrooper at an AT-DP walker; knocking it to the ground.[1]
Slavin then contacted Thrawn, who was observing the skirmish from the bridge of his Arquitens-class command cruiser. However, Thrawn ordered the gunnery officer not to fire on the grounds that Cham and the rebels had earned their victory. When a dejected Slavin contacted his superior officer to report that the rebels were escaping, Thrawn responded that he should not worry because he found the "experiment" enlightening.[1]
Aftermath[]
After escaping the former Syndulla residence, the two rebel cells landed the Ghost in the plains of Ryloth. Cham commended his daughter for her ingenuity while Hera reiterated her love for her father, Kanan, and her crew whom she regarded as her new family and home. Hera conceded that she was wrong to endanger the lives of her crew to retrieve the Kalikori. Hera concluded that she did not need the Kalikori because she had memories of her late mother.[1]
Behind the scenes[]
The second mission to Ryloth first appeared in the Star Wars Rebels episode "Hera's Heroes," which premiered on Disney XD on October 15, 2016.
Appearances[]
 Star Wars Rebels — "Hera's Heroes" (First appearance)
Sources[]
- Enter Thrawn | Star Wars Rebels on the official Star Wars YouTube channel (backup link) (Posted on StarWars.com)
- Rebels Recon #3.03: Inside "The Antilles Extraction" | Star Wars Rebels on the official Star Wars YouTube channel (backup link) (Posted on StarWars.com)
- "Hera's Heroes" Episode Guide on StarWars.com (backup link)
- Disney Gallery: The Mandalorian — "Connections"
- "Aftermath" Episode Guide | The Bad Batch on StarWars.com (backup link) (Picture only)
Notes and references[]
- ↑ 1.00 1.01 1.02 1.03 1.04 1.05 1.06 1.07 1.08 1.09 1.10 1.11 1.12 1.13 1.14 1.15 1.16 1.17 1.18 1.19 1.20 1.21 1.22 1.23 1.24 1.25 1.26 1.27 1.28 1.29 1.30 1.31 1.32 1.33 1.34 1.35 1.36 1.37 1.38 1.39 1.40 1.41 1.42 1.43 1.44 1.45 1.46 1.47 1.48 1.49 1.50 1.51 1.52 1.53 1.54 1.55 1.56 1.57 1.58 1.59 1.60
 Star Wars Rebels — "Hera's Heroes"
- ↑ 2.0 2.1 Dawn of Rebellion dates the events of Star Wars Rebels: Steps Into Shadow seventeen years after the end of the Clone Wars, which Star Wars: Galactic Atlas dates to 19 BBY; therefore, the events of Steps Into Shadow must take place in 2 BBY. According to Star Wars: On the Front Lines, Mon Mothma's denunciation of the Galactic Empire and the Declaration of the Rebel Alliance take place 2 years before the Battle of Yavin or 2 BBY. As "Hera's Heroes" is set between Steps Into Shadow and "Secret Cargo," the events of the episode must also take place in 2 BBY.
- ↑ Star Wars Rebels — "Homecoming"