Template:Grammar Warning: This infobox has missing parameters: parents, pronouns, children, siblings, partners, families, feathers and unrecognized parameters: imageBG, era
- "If all you do is fight for your own life, then your life is worth nothing!"
- ―Hera Syndulla
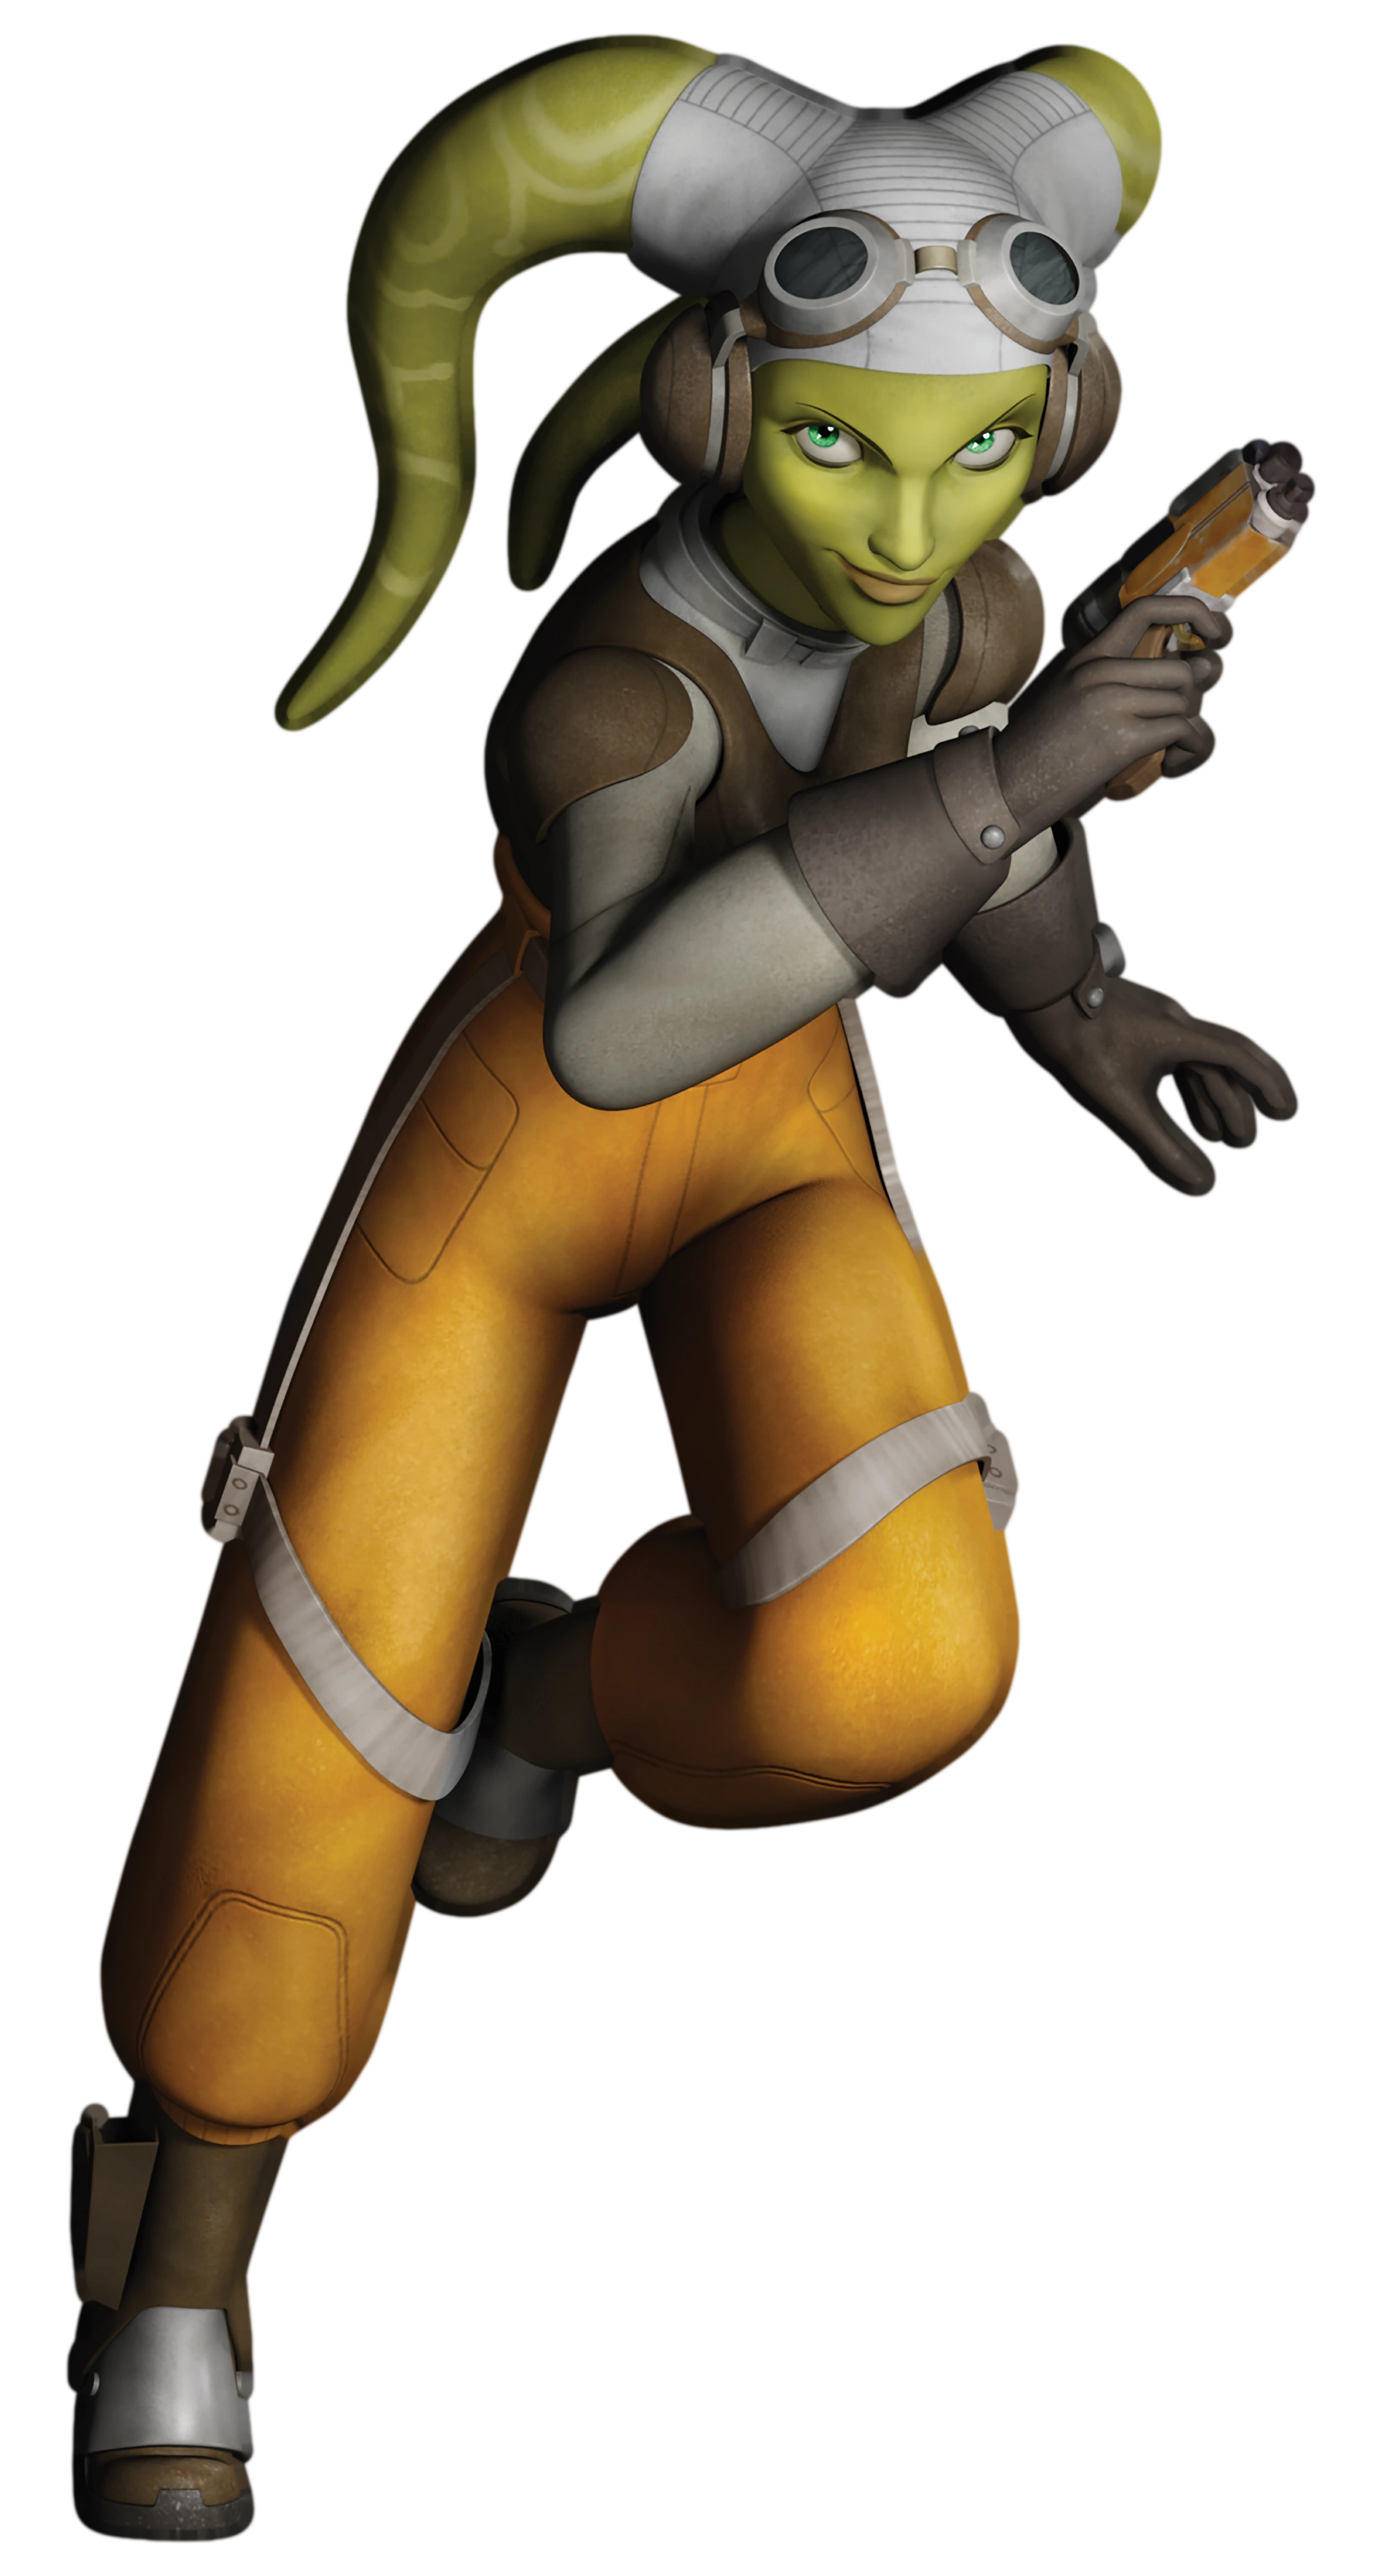
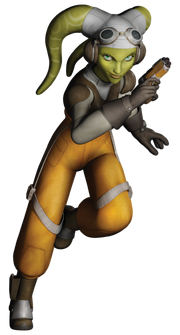
Hera Syndulla was a Twi'lek female rebel who lived during the reign of the Galactic Empire. Syndulla was the daughter of the Twi'lek revolutionary Cham Syndulla.[5] An adept pilot, Syndulla was the owner of the VCX-100 light freighter Ghost. She kept a secret blaster in her boot and was close with Kanan Jarrus, whom she convinced to become a rebel.[3]
Biography
- "This thing hasn't flown in years!"
"You've got to talk to it right."
"I thought I was a good pilot. But you—you're amazing." - ―Kanan Jarrus and Hera Syndulla
Following the rise of the Galactic Empire, Hera became a first rate starship pilot.[1] Hera then met the former Jedi, Kanan Jarrus on the planet Gorse, where she convinced him to fight against the Empire. She was inspired to become a rebel by her father, the Twi'lek revolutionary Cham Syndulla, who had fought against the Confederacy of Independent Systems in the Clone Wars and the Empire after the war's end.[6]
After raiding an Imperial supply convoy on Kanan' suggestion, Hera, Kanan, and C1-10P found themselves under attack by Imperial TIE/LN starfighters. After the attack disabled both the Ghost's shields and internal comm system, Hera and Kanan began giving Chopper conflicting orders over what to fix first. A comment from Kanan passed on to Hera by Chopper aggravated her enough to go on the offensive and destroy a TIE-fighter herself. Chopper wound up destroying the final starfighter, and his efforts were praised by Hera before she took the Ghost into hyperspace.[7]
Another mission required Sabine Wren to create a diversion so the Ghost could take off. After Hera signaled Sabine that they were in position, the Mandalorian detonated an explosive in a TIE fighter landing platform, drawing attention from the departing Ghost. As the she flew away, Hera remarked to Sabine that the explosion was even visible from her position.[8]
Enter Ezra Bridger
Sometime later, Sabine, Zeb and Kanan were tasked with stealing some crates containing blasters from the Empire. As part of the plan, Hera and Chopper would pick up the rebels and their stolen supplies outside the city. During, Hera's rebel companions encountered Ezra Bridger, a fourteen year old orphan who lived on the streets of Lothal's Capital City. Ezra tried to steal several of the crates but reluctantly hitched a ride aboard the Ghost. This proved to be Hera's first encounter with the young Ezra, who later became a valuable crew member of the Ghost and Kanan's Jedi Padawan. After losing their Imperial pursuers in space, Hera and her crew returned to Lothal and sold the stolen blasters to the Devaronian crime lord Cikatro Vizago. The rebels then sold the proceeds to the poor people of Tarkintown, who had been dispossessed by the Empire.[9]
Hera and her companions then embarked on a mission to rescue several Wookiee slaves that were being transported on an Imperial transport ship to the spice mining planet of Kessel. Unknown to the Lothal rebels, the Imperial Security Bureau agent Kallus had planned to lure them into a trap. When Zeb and Chopper objected to the presence of the stowaway Ezra, Hera and Sabine argued that they could not dump the human youth since he knew too much. Hera also promised to keep an eye on the young human youth. When they went to rescue the Wookiees from an Imperial transport, their transmissions were blocked. Hera and Ezra noticed a Star Destroyer coming out of hyperspace taking them aboard. Hera told Ezra to warn the other rebels who had gone aboard. When he did, they escaped the imperials except for Ezra himself who was grabbed by Agent Kallus.[9]
Following their escape from the Imperial trap, Hera successfully convinced her rebel comrades to rescue Ezra from the Star Destroyer. After they escaped again, Hera said Ezra's parents must be worried sick and was upset to hear that he had no parents. While Ezra was on board the Lawbringer, he learned that the Wookiees were really being held in the Spice Mines of Kessel so the rebels went there to save them. Hera was forced to flee the scene when the Ghost was ambushed by TIEs. She ran a 22 pickup to rescue her comrades. Upon returning to Lothal Ezra returned Kanan's holocron he grabbed earlier and Hera noticed he opened it proving that he was strong with the Force. Kanan gave Ezra the choice to join them which he agreed.[9]
Theft of Disruptors
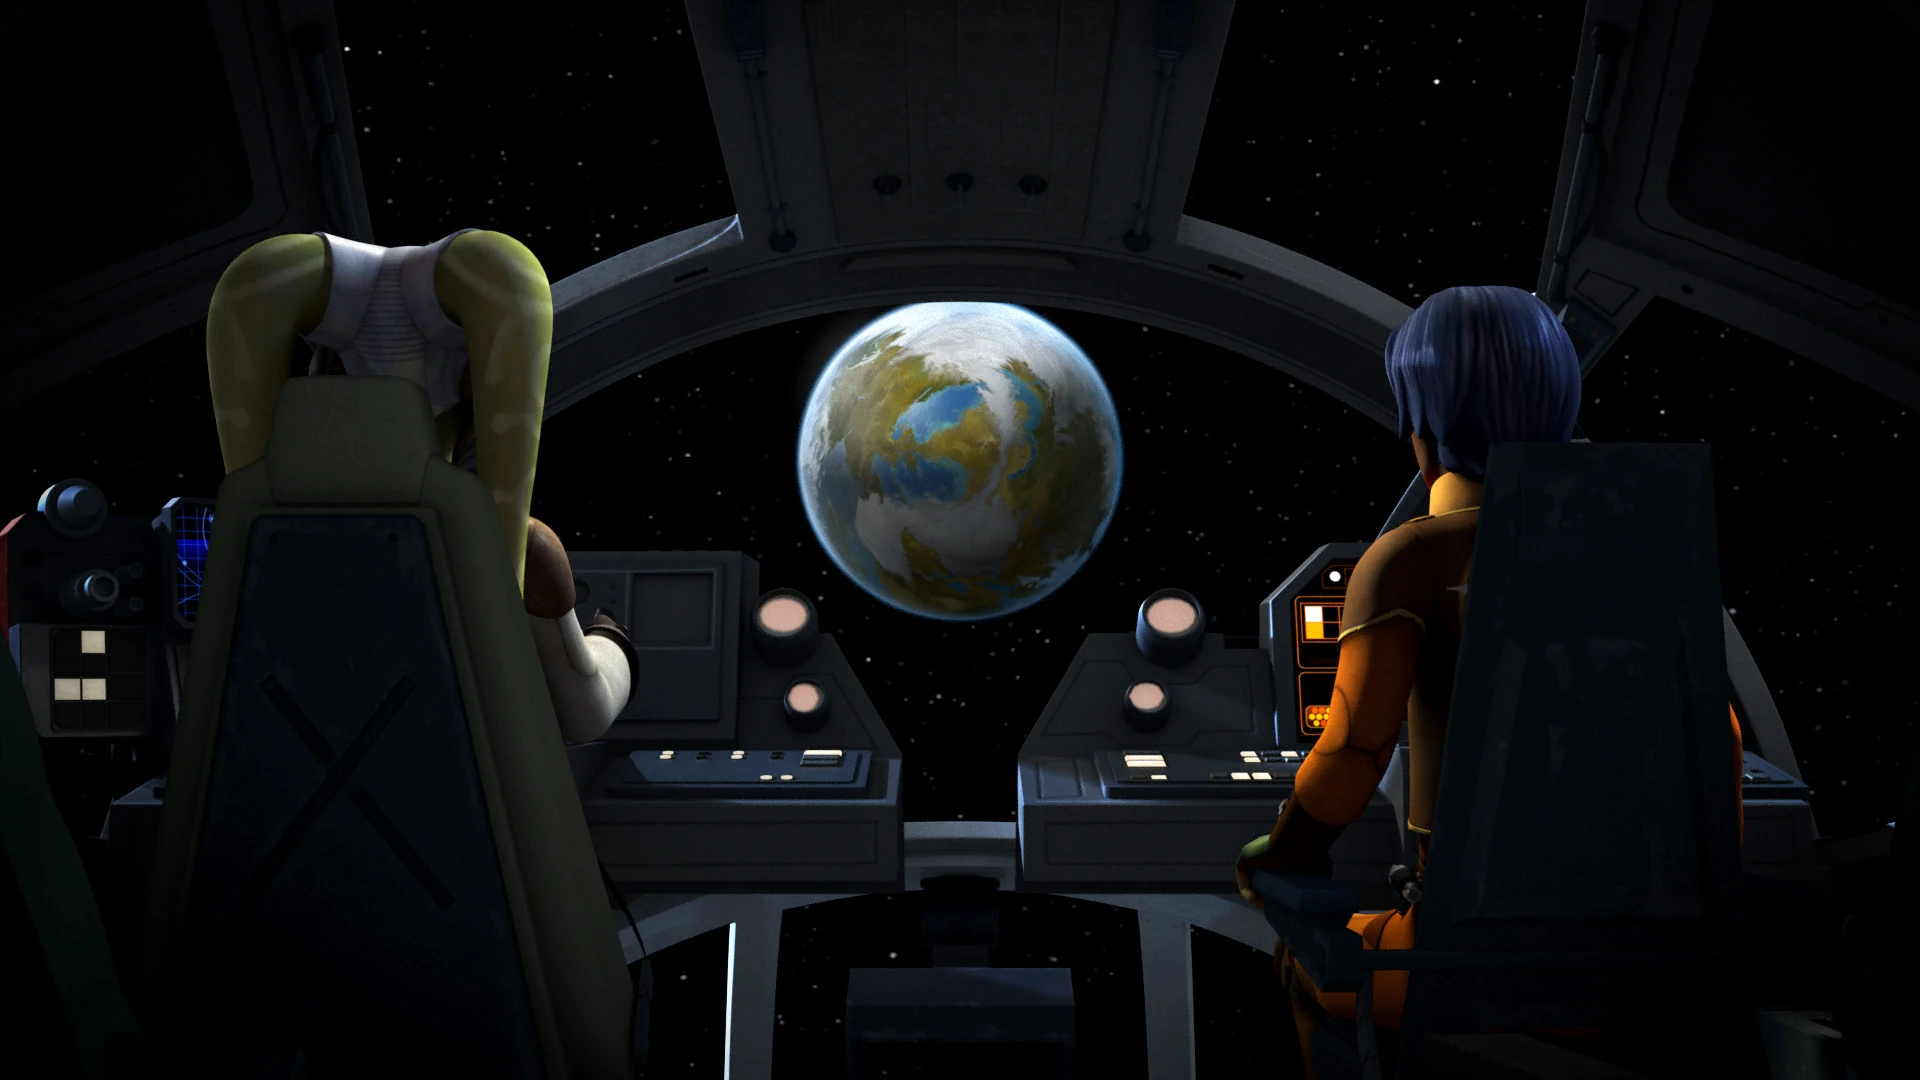

Hera talking with Ezra about the T-7 ion disruptors
After the crew of the Ghost began to run low on supplies such as food, explosives and fuel, they decided to accept another order from the crime lord Vizago to steal a shipment of weapons from the spaceport on Garel, a planet near Lothal. To avoid detection by the Imperial authorities, Hera's rebel comrades traveled to Garel on a Star Commuter 2000 transport shuttle. Meanwhile, Hera traveled directly to Garel on the Ghost where she rendezvoused with the other rebels. After a fire fight with the Imperial authorities on Garel, Hera and her fellow rebels escaped Garel with the weapons. These weapons turned out to be T-7 ion disruptor rifles, which had been used during the Imperial subjugation of Lasan, Zeb's homeworld. While the Imperial Senate had banned the used of these firearms, the Imperial Minister Maketh Tua had wanted to acquire some of this stock to restart production on Lothal. During their escape, the rebels had also picked up the protocol droid C-3PO and his astromech companion R2-D2; who had been sent on a secret mission by Senator Bail Organa to prevent the Imperials from acquired the T-7 disruptors.[10]
The presence of the T-7 disruptors distressed Zeb, who was one of the few Lasat to survive the subjugation of his homeworld. After Zeb locked his cabin which vexed Ezra, Hera told the young Human about the role that these weapons had played in the destruction of Zeb's species. Upon returning to Lothal, the Ghost rendezvoused at a pre-arranged location with Vizago. Unknown to Hera and the other crew members C-3PO, who was unaware of his master's true mission and believed that the rebels were criminals, made an emergency call to Agent Kallus and revealed their whereabouts. Before the rebels could complete their transaction with Vizago, they were interrupted Kallus, who brought a Gozanti-class cruiser and two AT-DP walkers. While Vizago fled, the rebels were unwilling to allow the disruptors to fall into Imperial hands again and put up a fight against Kallus' forces.[10]
During the fighting, Hera helped Sabine to open the crates containing the disruptors and then, to gain time, she shot the AT-DP which started to chase her. Meanwhile Sabine and R2-D2 had already overloaded the disruptors and their explosion caused everyone to fall including Zeb, who was fighting Kallus. While Kallus almost succeeded in killing Zeb, Ezra then used the Force to rescue his Lasat companion. Kanan asked Hera to get the boy on board, while he himself took the Lasat on the ship. During combat Chopper had already prepared the ship, so the group could flee. Following their skirmish with Imperial forces on Lothal, Hera and her crew headed into space where they rendezvoused with C-3PO's and R2-D2's owner, Senator Organa on the Tantive IV. The grateful Senator paid them for returning his droids and destroying the disruptors.[10]
Fighter Flight
- "Enough. This is my ship you're wrecking, and I want you off."
- ―Hera, to Ezra and Zeb
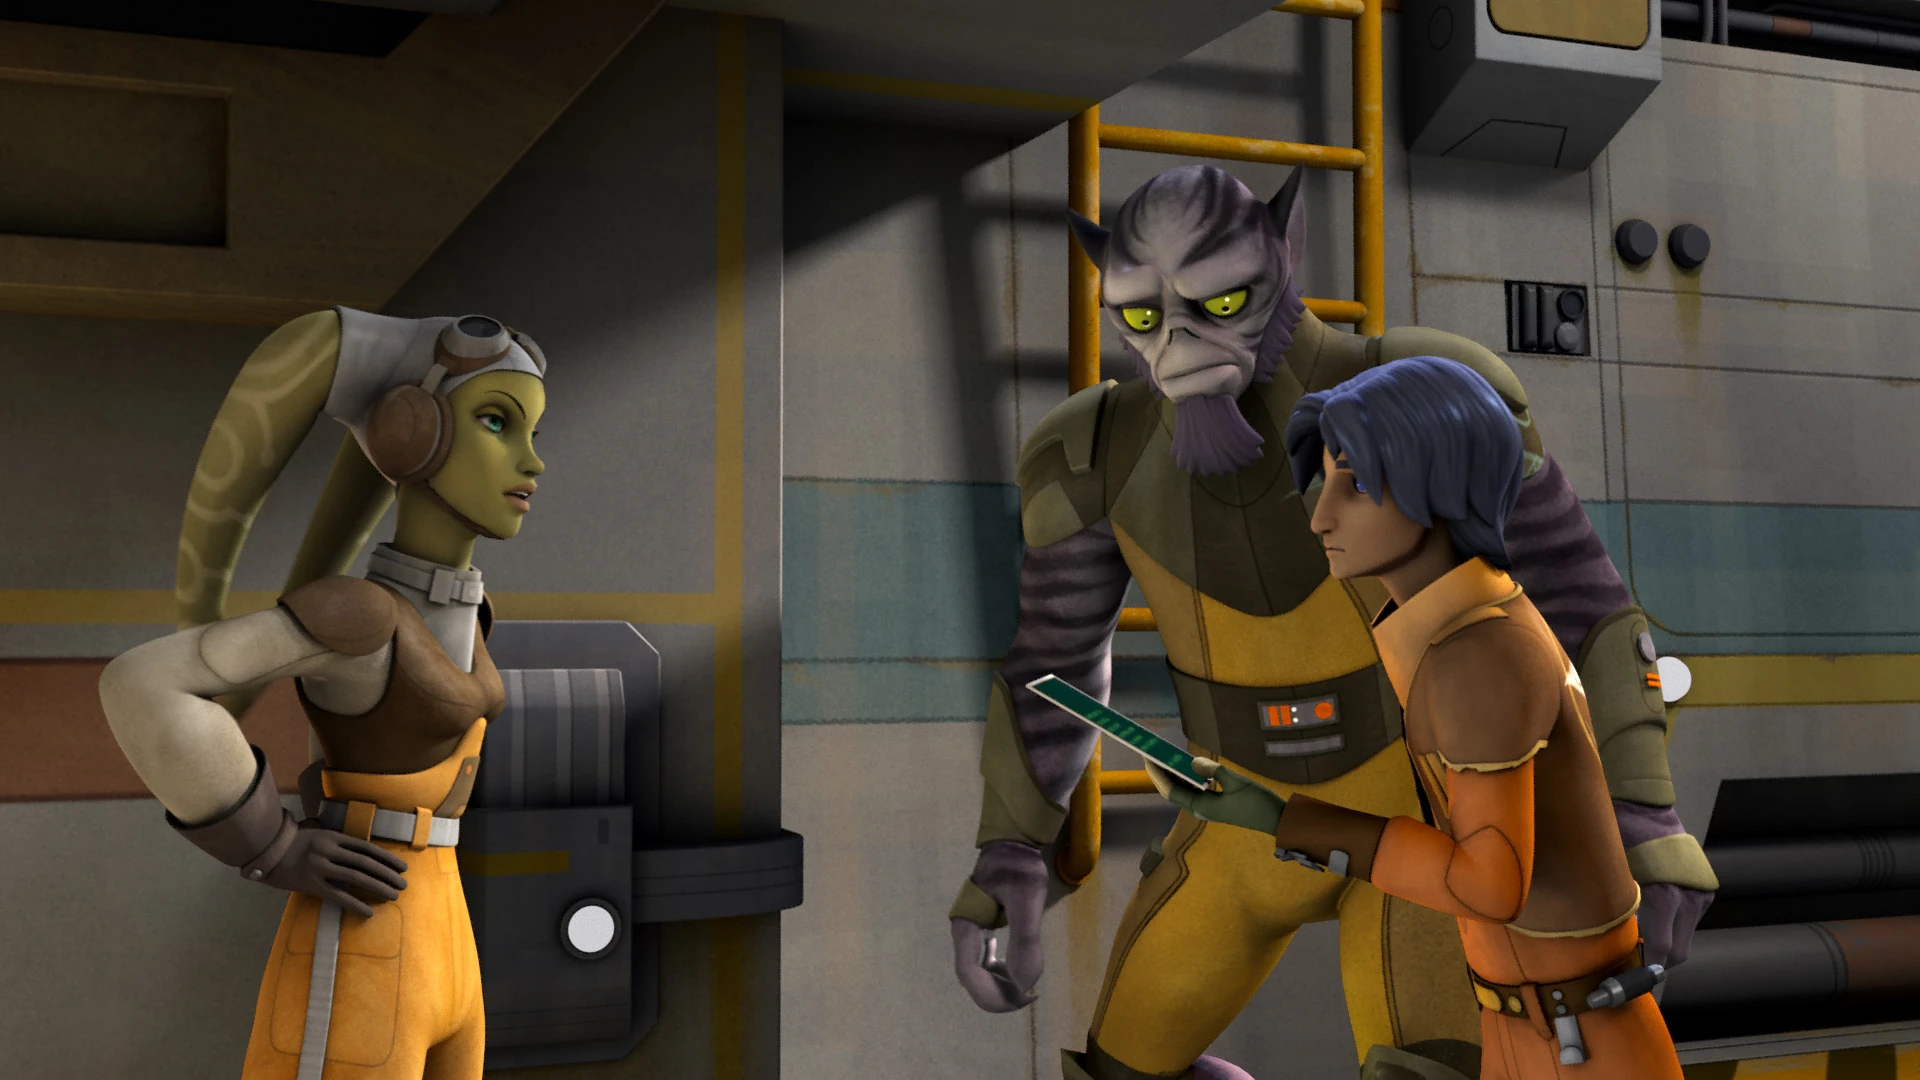
Hera expelling Zeb and Ezra, giving them a market list.
After Zeb and Ezra made a mess in the cargo hold of the Ghost, Hera sent them off the ship to buy supplies in a local Lothalian town. Among the items Hera requested was a meiloorun fruit, something not commonly found on Lothal. Because of its rarity, Hera hoped Ezra and Zeb would be gone longer, leaving her and Kanan some time to relax. Some time later, Hera received a call from Zeb, who had stolen a TIE fighter. Kanan then instructed them to hurry to the meeting point. When Ezra and Zeb failed to return in time, Hera began to worry. Thankfully, the two eventually returned. After hearing them out, the entire crew boarded the Ghost.[11]
In search of Luminara
Later, the Rebels received information that Jedi Master Luminara Unduli was alive, but imprisoned in the Spire on Stygeon Prime. Despite the risks, they decided to attempt a rescue.
Once they arrived, they left the Ghost behind in Chopper's hands, while the rest of the crew flew towards the prison on the Phantom,
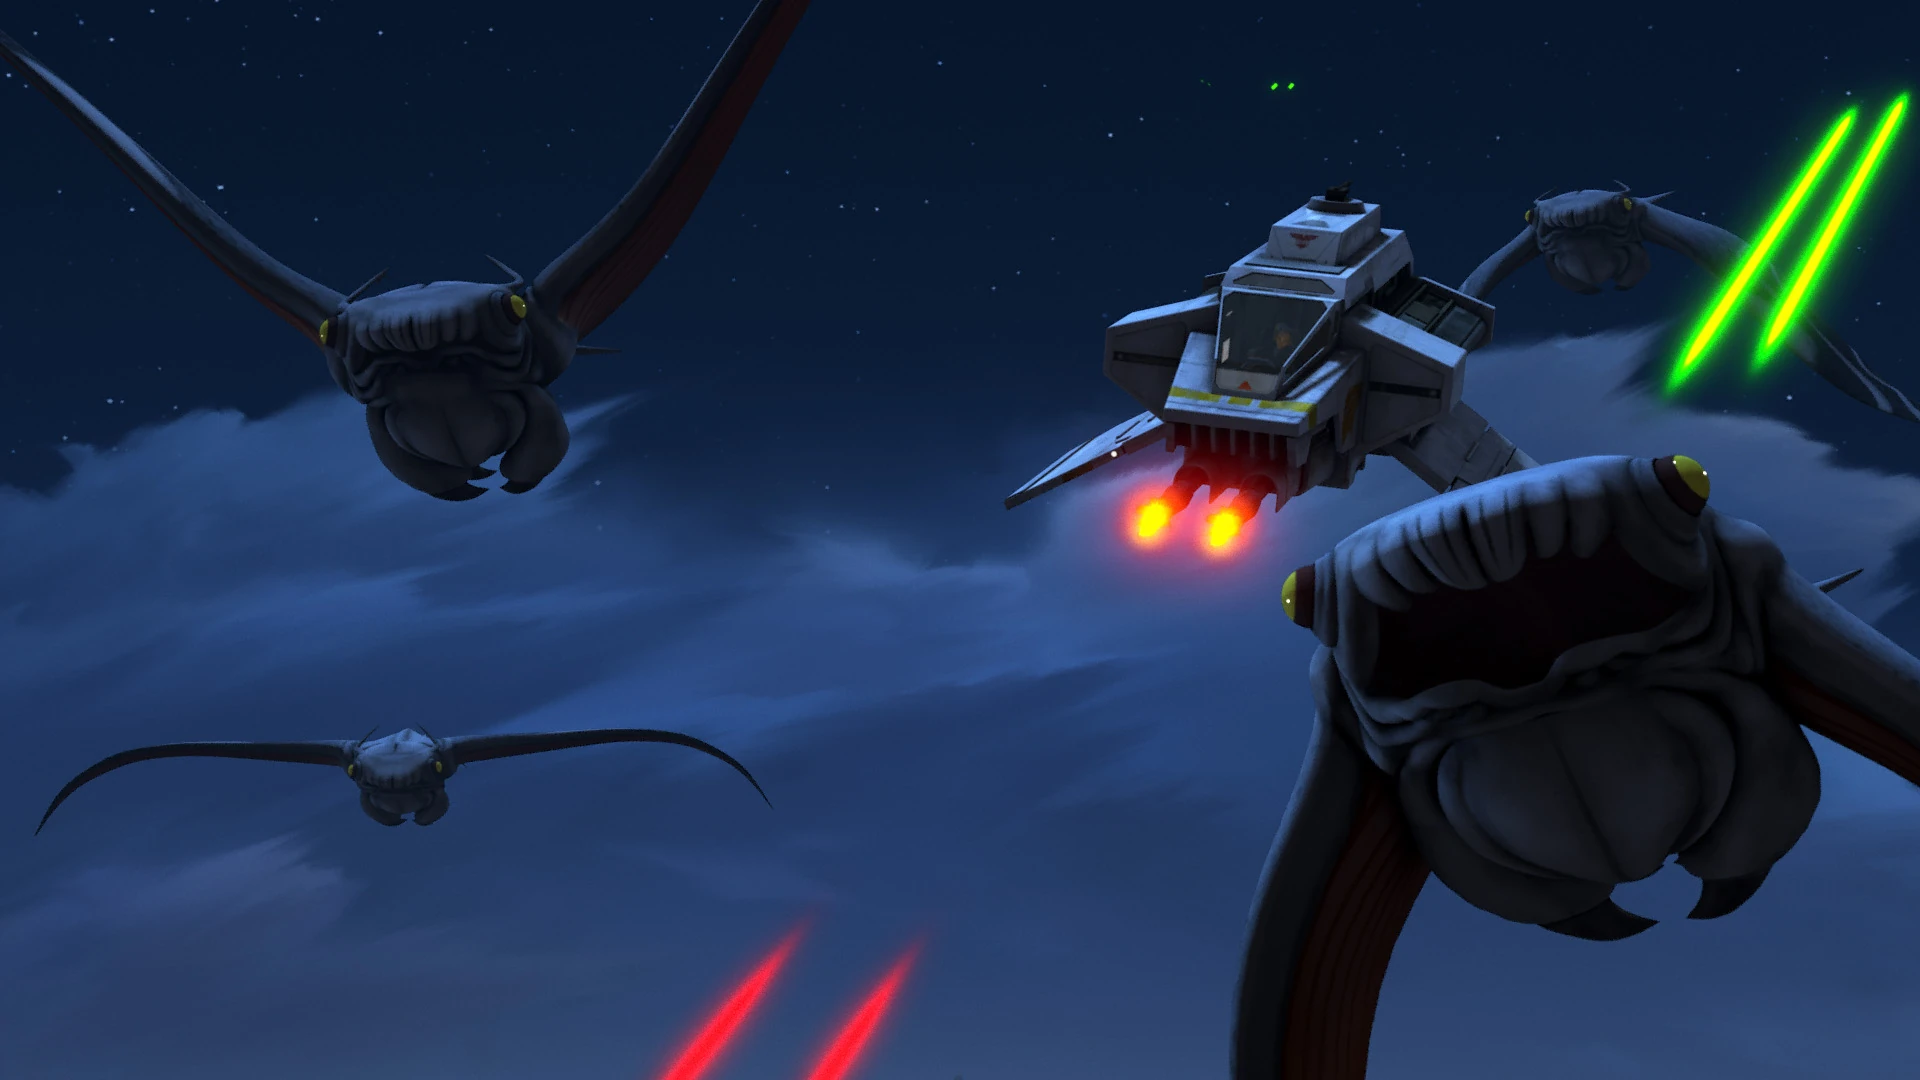

Phantom and the Fleet
the ship's attack shuttle, but they soon realized it was a trap set by The Inquisitor to attract the surviving Jedi to their death. While waiting for her colleagues in the shuttle, camouflaged, the Phantom's sensors detect something approaching the shuttle, which Hera believed was a TIE fighter. Instead, a group of Tibidee appear, attracted to the jamming signal that they believed was a mating call. Syndulla detached the shuttle from the side of the prison and flew away, with the creatures following close behind her.
Later, when his fellow rebels reached a hangar outside running away from the Inquisitor, they found a large number of soldiers assault, but Hera appeared with the herd of Tibidees (the Fleet), who attacked the soldiers thinking they were a threat and the Rebels were able to escape. [12]
Destroying a Kyber Crystal
After Ezra Bridger spent some weeks infiltrated in the Imperial Academy of Lothal in order to steal a device with the location of an imperial carriage containing a huge Kyber crystal Hera and Kanan, aboard the Ghost, received the coordinates containing the device. At the time of receiving the coordinates, they received the information that Ezra would just flee after helping Jai Kell escape before the Inquisitor could take him away.


While heading to intercept the transport, Hera reassured Kanan and urged him to focus on the mission. Kanan, aboard the Phantom distracted several TIE fighters, while Hera managed to destroy the transport carrying the Kyber Crystal.
After that, there was a huge explosion and Kanan and Hera escaped by a whisker at the last moment. Then, they went back to Lothal to join the rest of Rebels and then she helped Jai Kell and his mother to hide from the Empire.[13]
Mission to Fort Anaxes
Following intel from Fulcrum, Hera conducted a mission accompanied by Sabine and Ezra aboard the Phantom. After a close encounter with a squadron of Tie Fighters, Sabine commented that Fulcrum's intel had been questionable as of late, attempting to get Hera to reveal Fulcrum's identity. Hera asserted her authority over Sabine and told her she knew all she needed to. Hera then commanded Ezra and Zeb to run a diagnostic of the Phantom.
Unsatisfied with Hera's answers, Sabine insisted on accompanying her on a supply run to Fort Anaxes. Hera took off in the Phantom unaware that Ezra and Zeb had left a leak in the fuel line unfixed. Sabine asked more probing questions which Hera tactfully dodged, though Sabine was not fooled. Fulcrum then made contact with them informing them their supplies were unloaded. Sabine proceeded to mouth off to the contact, forcing them to break off communication, much to Hera's annoyance. Upon their arrival they discovered Fulcrum had fled their rendezvous point. Hera found a small symbol left by Fulcrum on one of the supply crates which she hid from Sabine.[14]
Empire Day
Hera then assisted in rescuing Tseebo from Agent Kallus and his stormtroopers.[15] After they discovered a homing beacon on the Phantom's hull, Hera agreed to Kanan's plan to split up. Hera then arranged a rendezvous with Fulcrum's corvette. Before Tseebo left, Hera agreed to give his information on Ezra's parents to Ezra.[16]
Lando's Job
After Zeb and Kanan lost Chopper in a game of sabacc with the entrepreneur Lando Calrissian, Hera took on a job from the man in order to reclaim her droid. She was also incensed towards Zeb and Kanan for gambling on Chopper. Lando attempted to ingratiate himself with the crew members one at a time while simultaneously turning them against one another, a tactic Hera quickly took notice of.[17]
When they rendezvoused with Lando's contact the crime lord Azmorigan, Hera went aboard with Lando and the Kanan. Lando subtly informed Hera of his plan without actually giving her instructions. To everyone's shock Lando offered Hera as a bargaining chip to the gangster Azmorigan in exchange for his mysterious piece of cargo. Hera chose to play along with Lando's rouse despite the imminent danger it put her in. Using her natural allure she knocked out Azmorigan and one of his guards using a food tray, which she wryly referred to as very useful. Using the escape pod Lando mentioned she managed to escape back to the Ghost. Upon arriving back on the Ghost, she punched Lando in the stomach and reprimanded him for endangering her and her crew. However, she continued his job nonetheless.[17]
Despite Lando's instructions, Ezra and Zeb opened the box containing the mysterious piece of cargo, which turned out to be a puffer pig. The frightened animal wrecked havoc aboard the Ghost and prevented Hera from returning to the Ghost's cockpit by inflating itself and blocking the passage. Using the Ghost's signature modulation, Kanan piloted the ship past the Imperial blockade on Lothal and managed to evade several pursuing TIE fighters. After breaking past the Imperials, Hera reprimanded Lando for his divide and conquer tactics and asserted herself as the commander of the crew, instructing Lando to follow her command. Calrissian also revealed that his plan was to use the puffer pig for mining; the Empire had banned private entrepreneurs from owning the animal in order to maintain a monopoly on mining.[17]
After escaping the Imperial blockade, Hera along with her crew and Calrissian made their way to Calrissian's farm. There, they were confronted by Azmorigan, who had been angered by Calrissian's theft of his puffer pig and had come to exact revenge on the shady entrepreneur. Hera and her crew became caught up in a shootout between the rebels and Azmorigan. During the fighting, Azmorigan took Zeb hostage and threatened to kill the Lasat if they did not hand Lando over to him. However, Chopper resolved the situation by firing on Azmorigan, allowing Hera and the rebels to regain the upper hand. Hera then demanded that the defeated crime lord leave, a demand that he acquiesced to. With Azmorigan gone, Calrissian returned Chopper to Hera. Since Calrissian did not have the credits to repay them for their "job", Chopper with the approval of Hera and the other crew, stole Calrissian's fuel canisters; which the entrepreneur conceded as fair payment for their risky mission.[17]
Exposing Trayvis
Following the latest transmission from Gall Trayvis, the crew attempted to meet with him personally, after Hera and Ezra managed to decode the senator's hidden message. After sneaking into the senate building and meeting Trayvis they were immediately ambushed by Agent Kallus and his men. Trayvis suggested they surrender, but they managed to escape capture with Sabine's aid. The crew fled into the sewers with Kallus in pursuit, but the senator's curious behavior began to arouse Hera's suspicions. Trayvis lagged behind and began asking her for information on their group and their activities. While Hera had long been inspired by the broadcasts of Trayvis as a voice of resistance against the Empire, but quickly realized the senator was not what he appeared.[18]
Suspicious that his ineptitude during the escape was in fact an attempt to get them captured, she gave him her blaster and requested cover while she and Ezra deactivate a fan. Her theory proved correct as the deceitful Trayvis attempted to prevent them from escaping by holding them at blaster point. Hera turned his tactics against him and coaxed him into revealing his own secrets as an Imperial agent. Fortunately Hera had given Trayvis an uncharged blaster, allowing her to punch him unconscious and escape with the crew. Disheartened by the revelation of the senator's deceit, Ezra expressed his concerns to Hera. She reassured him that things would get better as long as they had hope.[18]
Confronting Tarkin
The Lothal rebels' activities eventually attracted the attention of Grand Moff Wilhuff Tarkin, who decided to implement a final solution to the rebel problem there. Unhappy that Imperial propaganda was casting them in a negative light, Hera and her rebel comrades participated in a mission to hijack the Imperial communications tower on Lothal. While her rebel comrades assaulted the compound, Hera remained aboard the Ghost's auxiliary ship, the Phantom, to evacuate the team after they finished inserting a data spike onto the communication tower's main computer. However, Tarkin along with Agent Kallus and the Inquisitor had planned to trap the rebels and quickly surrounded the complex. Following a brief struggle, the Imperials succeeded in capturing Kanan.[19]
Hera was unwilling to abandon Kanan but she reluctantly complied and escaped with the other rebels. Despite losing Kanan to the Empire, Ezra succeeded in making a heartfelt broadcast that was heard by many on Lothal and the neighboring system. In response, Tarkin ordered his police gunships to destroy the Imperial communications tower, which disrupted communications throughout Lothal. Following Kanan's capture, Hera reassured Ezra that their efforts had been for nothing.[19]
Mission to Mustafar
Following Kanan's capture by the Empire, Hera received orders from Fulcrum not to rescue Kanan and take her crew into hiding. She reluctantly complied but later changed her mind after Ezra and his companions disobeyed her orders. With the lead Ezra obtained from Devaronian smuggler Chikatro Vizago, they learned that since the comm towers destruction, the Empire started using courier droids to deliver data. To gain info on Kanan's whereabouts, Sabine Wren used her artistry skills and disguised Chopper as an Imperial courier droid Then, the disguised droid boarded the Imperial ship in orbit. Chopper then sent coordinates to Hera and she took the Ghost up into space. She and the other Rebels attacked the ship, buying time for Chopper to get back to the Ghost. He was successful and the Ghost hurried back toward Lothal. Sabine then was able to confirm that Kanan was being taken to the Mustafar system. All Hera could say was that Kanan once said Mustafar was where Jedi went to die.[4]
Ezra and Zeb revealed to Hera and Sabine that the TIE fighter they had stolen had not been destroyed as they earlier said, but was in fact hidden. Hera was almost angry at what they did, but decided that they should use it infiltrate the Star Destroyer that it holding Kanan captive. However, Sabine had painted it. All four were in the rescue Kanan before going on the Ghost while having the TIE at the bottom. Hera asked Ezra if Kanan was alive. Seeing through the Force, Ezra told her that he is alive. After evading the stormtroopers on board, Ezra found Kanan before they confronted the Inquisitor. After Kanan defeated the dark warrior, he and Hera were reunited. When joining the rebel network, they learned of Senator Bail Organa's name, and that "Fulcrum's" identity was Ahsoka Tano, an ex-Jedi Padawan who also survived Order 66. In response to the rebel's successes, the Emperor sent his apprentice Darth Vader to deal with them.[4]
A Larger Rebellion
Following the events on the Mustafar system, Hera and the crew of the Ghost learnt that they were part of a larger rebellion against the Galactic Empire. Hera and her crew mates joined the Phoenix rebel cell fleet and took part in a mission to steal shield generators from the Empire to help defend the fleet. During the mission, Hera flew the Ghost in support of Phoenix Squadron, a squadron of A-wings, and a fleet of rebel blockade runners led by Commander Jun Sato. The fleet attacked a group of Imperial freighters and knocked supplies loose from one of the vessels. After the Ghost secured the cargo, Hera and the rest of the fleet fled into hyperspace. While the rebels failed to capture shield generators, they succeeded in securing more fuel supplies.[20]
Later, Hera was present on the bridge of the rebel command ship Phoenix Home when Chopper received a holographic transmission from the disillusioned Imperial Minister Maketh Tua, who wanted to defect from the Empire in exchange for providing vital Imperial intelligence. Against fleet protocol, Kanan had ordered Chopper to play the message. In response, Hera instructed the astromech droid to mask their signal by only using one-way visual communication. After some discussion, Hera and her rebel colleagues agreed to rescue Minister Tua. Following their meeting, Hera confronted Kanan and scolded him for breaching fleet protocol. When Kanan expressed his discomfort about the rebels being involved in a military operation, Hera reminded the Jedi that they were part of a larger struggle against the Empire. However, Kanan was reluctant to join the rebellion due to his traumatic experience with the Clone Wars and the Jedi Purge.[20]
For the mission, the rebels traveled to Lothal in a Star Commuter 2000 shuttle. After further discussions and passing through the Imperial blockade above Lothal, Hera and the other crew headed to their pre-arranged rendezvous point while Chopper and Zeb stayed aboard the shuttle. As part of the plan, the rebels would rescue Minister Tua while she was boarding a shuttle for a scheduled meeting with Grand Moff Tarkin. During the rescue operation, Hera along with Ezra and Sabine Wren attacked Tua's Imperial escorts from the rooftop while Kanan infiltrated the Imperial escorts disguised as a Stormtrooper commander. However, Agent Kallus had learnt about Minister Tua's planned defection and had set a trap for the rebels. Tua was killed during a shuttle explosion that was subsequently blamed on the rebels. With their plan in tatters, Hera and her rebel comrades were forced to flee into hiding.[20]
Fleeing from Imperial forces, Hera and her fellow rebels boarded the Star Commuter 2000 after Chopper and Orrelios arrived. However, the shuttle was shot down by an AT-DP walker and the rebels were forced to flee to Ezra Bridger's former home, which served as one of their safe houses. However, they were pursued by stormtroopers. Deducing that the forces in the Imperial complex would be stretched thin since the garrison was hunting for them, the rebels hatched a plan to sneak in and steal a shuttle in order to escape Lothal. While Kanan retained his stormtrooper disguise and Bridger impersonated an Imperial cadet, Hera and the other rebels hid in several crates. This ruse allowed them to infiltrate the Imperial complex where they managed to steal several Imperial shield generators. Before they could make their escape, Hera and her rebel comrades were confronted by the Sith Lord Darth Vader. The Sith Lord proved more than a match for Kanan and Ezra with the rebels barely managing to escape the complex in a stolen shuttle.[20]
Knowing that Darth Vader had imposed a blockade around Lothal, the rebels decided they had to smuggle themselves off Lothal. Hera suggested turning to their old friend, Lando Calrissian for help. Hera and Kanan contacted Calrissian who was offworld at the time. Calrissian reluctantly agreed to assist their escape in return for the rebels giving him three of their stolen shield generators. Following the events on Lothal and the destruction of Tarkintown, Hera and her comrades decided not to return to the plant in order to avoid endangering the planet's people. With the help of Calrissian's droid W1-LE, Sabine created sensor buoys that could replicate the signal of the shuttle and throw of the Imperial forces hunting for them. This ploy allowed the Ghost crew to evade the Imperial blockade. Unknown to the Hera and the rebels, Darth Vader had planted a tracking device on the shuttle in order to track the rebels to his true objective: the Phoenix rebel fleet.[20]
While traveling back to the Phoenix rebel fleet, the rebels voted to continue fighting alongside Phoenix Squadron. Shortly after arriving back at the fleet, the Phoenix rebels were attacked by a lone TIE Advanced x1 starfighter piloted by Darth Vader, the Sith Lord they had encountered on Lothal. During the space battle, Vader inflicted significant damage on the fleet's A-wing starfighters and the rebel flagship Phoenix Home, which had to be abandoned. Hera and her crew flew the Ghost during the fighting but were forced to retreat with the arrival of Imperial Star Destroyers.Towards the end of the space battle, Hera devised a plan to trap Darth Vader's TIE fighter by flying the Ghost between two Star Destroyers and tricking them into activating their tractor beam projectors. This plan work and the Ghost managed to jump into hyperspace; leaving Vader's starfighter behind to be trapped in their place.[20]
Personality and traits
Hera Syndulla
Hera's personality was somewhat two-sided; while she exuded a no-nonsense style of command, she was also known for being a very warm and compassionate individual. As a highly capable pilot and captain, Hera took good care of her ship, as well as her crew. Upon meeting Ezra, Hera developed a sort of motherly bond with the boy as she had with the other crewmembers. She was a true believer in the rebel cause and inspired hope in the rest of the crew. She was also the only other crew member aware of Kanan's test after Ezra stole the latter's holocron. Hera was very close to Kanan, referring to him as "love" and usually confided in him. She was more than capable of putting her foot down when she saw conflict within the crew, such as sending Ezra and Zeb out on an errand together when the two had been fighting. While an adept fighter Hera was also very diplomatic and knew how to unite others to a common goal, often within her own crew.
A smart, tactful and highly observant individual, Hera could quickly detect a threat. As Lando Calrissian successfully played her crew members off one another to his own ends, Hera caught on to his trickery and put the con-man in his place. Her skills of deduction proved invaluable when her suspicions of Gall Trayvis allowed her to expose the man as an imperial agent.
Many considered her attractive, particularly Kanan but also less savory characters as well, including Azmorigan, Lando Calrissian, and even Agent Kallus. She knew how to use her natural charm and beauty to her advantage when necessary, as seen when she manipulated the gangster Azmorigan in order to escape his ship.
Behind the scenes
Hera Syndulla was first revealed as a character from the forthcoming animated series Star Wars Rebels at the January 2014 Nuremberg International Toy Fair, where the character was included on the packaging of a LEGO Star Wars Rebels set.[21] A video introducing the character, who would be voiced by Vanessa Marshall, was released on February 20, 2014.[22] Hera shares a surname with Cham Syndulla, a Twi'lek character from the Star Wars: The Clone Wars television series. Cham Syndulla was revealed to be her father on February 23, 2015.[23]
According to the Star Wars.com blogger James Burns, Hera Syndulla was named after the ancient Greek goddess Hera, whose name means "protector." Hera was the wife and the sister of the Greek god Zeus and was the goddess of women, childbirth, and marriage. Simon Kinberg and Dave Filoni also confirmed that Hera and several other characters in the television series were named after historical and Biblical characters in order to give their names a sense of purpose and meaning that would reflect their characters.[24]
Non-canon history
Hera Syndulla appears in Angry Birds Star Wars II. At one point, she and Sabine rescued the street orphan Ezra Bridger from stormtroopers. They escaped from Agent Kallus, and Hera let Ezra join her crew aboard the Ghost.[25]
In the LEGO Star Wars Rebels Movie Shorts, Hera, Kanan, and Zeb were drinking in the Mos Eisley Cantina when Ezra called for a rescue. The three left aboard the Ghost and managed to rescue him. Ezra then suggested they charge the Star Destroyer's bridge and hide behind it, and eventually the warship jumped to hyperspace.[26] At another time, the Ghost was damaged by a Star Destroyer, forcing it to go to a space station for repairs. The rest of the crew was separated, and Hera went to a space station to make repairs. She avoided Imperials while she and Chopper collected parts. The rest of the crew arrived in time to finish repairs to their starship.[27]
Appearances
- Star Wars: Kanan: The Last Padawan 1
- Lords of the Sith (Mentioned only)
- A New Dawn
- Star Wars Rebels: Ghost Raid
 Star Wars Rebels — "The Machine in the Ghost"
- Chopper Saves the Day (First appearance) (Concurrent with A New Hero and Rise of the Rebels)
- Star Wars Rebels — "Art Attack" (Voice only)
- Sabine's Art Attack (Picture only)
- Zeb to the Rescue (Picture only)
- Ezra and the Pilot (Picture only)
- Rise of the Rebels (First appearance) (Concurrent with A New Hero and Chopper Saves the Day)
- Star Wars Rebels: Spark of Rebellion
- The Rebellion Begins
- A New Hero (First appearance) (Concurrent with Chopper Saves the Day and Rise of the Rebels)
- Star Wars Rebels — "Droids in Distress"
- Star Wars Rebels — "Fighter Flight"
- Star Wars Rebels — "Rise of the Old Masters"
- Star Wars Rebels — "Breaking Ranks"
- Star Wars Rebels — "Out of Darkness"
- Star Wars Rebels: Recon Missions
- "Ring Race" in Star Wars Rebels Magazine 1
- "Learning Patience" in Star Wars Rebels Magazine 2
- "The fake Jedi" in Star Wars Rebels Magazine 3 (Mentioned only)
- Star Wars Rebels — "Empire Day"
- Star Wars Rebels — "Gathering Forces"
- Star Wars: Kanan 6
- Star Wars Rebels — "Path of the Jedi"
- Kanan's Jedi Training
- Always Bet on Chopper
- Star Wars Rebels — "Idiot's Array"
- Star Wars Rebels — "Vision of Hope"
- Star Wars Rebels: Rebel Strike
- Star Wars Rebels — "Call to Action"
- Star Wars Rebels — "Rebel Resolve"
- Star Wars Rebels — "Fire Across the Galaxy"
- Star Wars Rebels: The Siege of Lothal
Non-canon appearances
- Angry Birds Star Wars II
- LEGO Star Wars Movie Short (Rebels: Saving the Phantom)
- LEGO Star Wars Movie Short (Rebels Ghost Story)
Sources
Notes and references
- ↑ 1.0 1.1 1.2 1.3 Star Wars Rebels: The Visual Guide
- ↑ A New Dawn
- ↑ 3.0 3.1 3.2 3.3 3.4
 Hera, the Pilot on StarWars.com (backup link)
- ↑ 4.0 4.1 4.2
 Star Wars Rebels — "Fire Across the Galaxy"
- ↑ Rebels Recon #13: Inside "Rebel Resolve" on the official Star Wars YouTube channel (backup link)
- ↑ NYCC 2014 Star Wars Books Panel on The Star Wars Underworld (YouTube page) (October 11, 2014) (backup link not verified!)
- ↑ Star Wars Rebels — "The Machine in the Ghost"
- ↑ Star Wars Rebels — "Art Attack"
- ↑ 9.0 9.1 9.2 Star Wars Rebels: Spark of Rebellion
- ↑ 10.0 10.1 10.2 Star Wars Rebels — "Droids in Distress"
- ↑ Star Wars Rebels — "Fighter Flight"
- ↑ Star Wars Rebels — "Rise of the Old Masters"
- ↑ Star Wars Rebels — "Breaking Ranks"
- ↑ Star Wars Rebels — "Out of Darkness"
- ↑ Star Wars Rebels — "Empire Day"
- ↑ Star Wars Rebels — "Gathering Forces"
- ↑ 17.0 17.1 17.2 17.3 Star Wars Rebels — "Idiot's Array"
- ↑ 18.0 18.1 Star Wars Rebels — "Vision of Hope"
- ↑ 19.0 19.1 Star Wars Rebels — "Call to Action"
- ↑ 20.0 20.1 20.2 20.3 20.4 20.5 Star Wars Rebels — "The Siege of Lothal"
- ↑ LEGO Star Wars Rebels Sets At The Nuremberg Germany Toy Fair -- Groove Bricks by Tomás, published by Groove Bricks on Groove Bricks (January 28, 2014) (backup link not verified!)
- ↑ Star Wars Rebels: Meet Hera, the Pilot on the official Star Wars YouTube channel (backup link)
- ↑ Rebels Recon #13: Inside "Rebel Resolve" on the official Star Wars YouTube channel (backup link)
- ↑ Star Wars Rebels: What's in a Name?, published by Star Wars.com on Star Wars.com (July 3, 2015) (backup link not verified!)
- ↑ Angry Birds Star Wars II
- ↑ LEGO Star Wars Movie Short Rebels: Saving the Phantom
- ↑ LEGO Star Wars Movie Short Rebels: Ghost Story