| | |


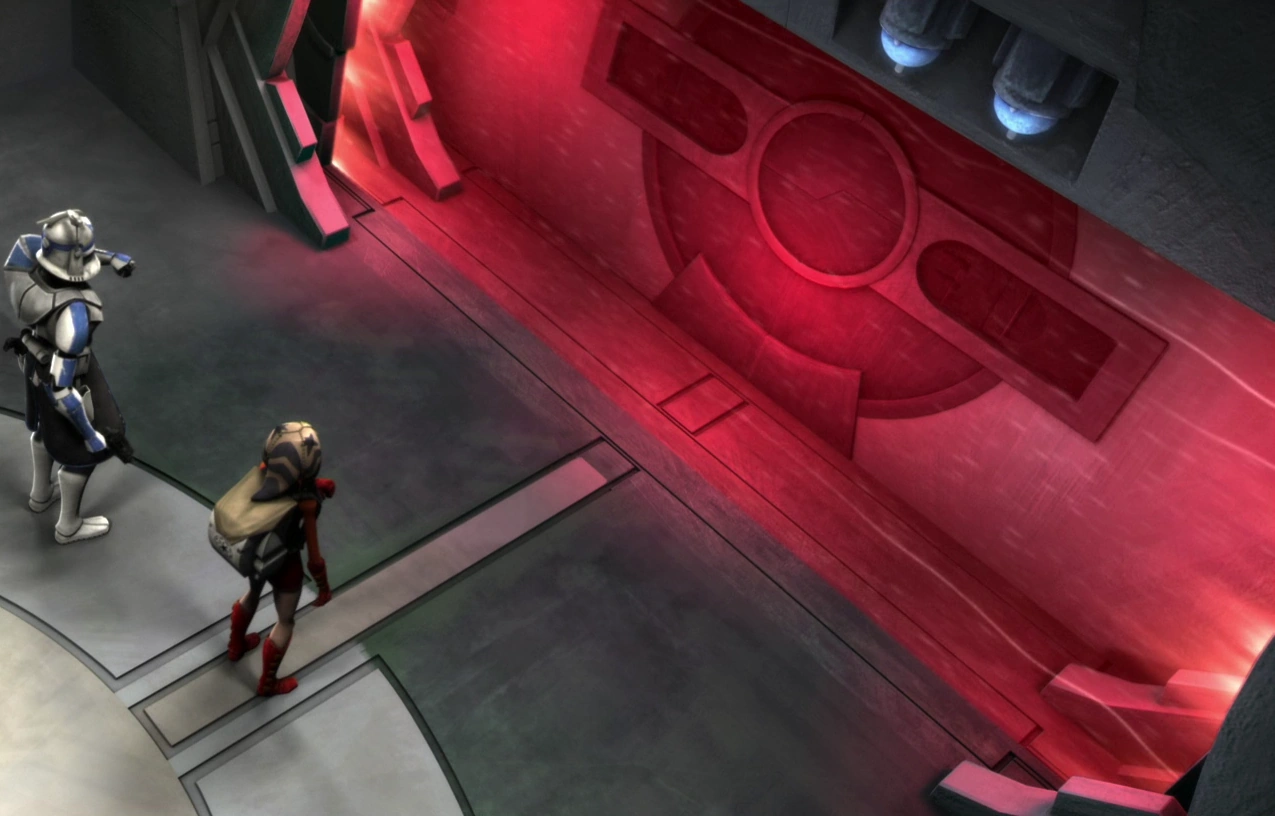
A ray-shielded blast door on Skytop Station
- "See this wavy light around my body? It's a ray shield. Blaster fire can't get in or out. Neat, huh?"
- ―Feylara
A ray shield, a type of deflector shield, was a protective force field. There were two basic types of energy shields: ray shields, which absorbed radiation and blaster bolts and particle shields, which repulsed solid objects. Although ray shields could be used to defend planetary bases, they were more commonly associated with protecting starships from stellar radiation, enemy fire and strangely the force.
History and usage


A pair of fambaas with a Gungan deflector shield generator projector.
Many starships contained ray shields as a defense against laser weapons. They absorbed lasers like a sponge, and sometimes they even managed to deflect some. When a shield had taken too many hits, it simply burned out, and needed to be recharged.
Ray shields varied in size according to what they were protecting. Large capital ships such as an Imperial Star Destroyer had multiple arrays, and some wealthy systems even had planetary shields. Personal shields were on the other end of the spectrum: Jedi Kyle Katarn used one to protect himself during most of his battles, and Han Solo and Chewbacca used personal ray shields when they were gladiators in the Big Game.
The Imperial Agent Cipher Nine used ray shield to try to contain the Sith Lord Darth Jadus.
The Gungans in the Battle of the Great Grass Plains used energy shields for personal defense against the Trade Federation.
During the Clone Wars, bounty hunter Cad Bane used a ray shield to hold Padawan Ahsoka Tano hostage in an attempt to persuade her Master to open a holocron for him.
The Rebel Alliance uses ray shields during the Galactic Civil War.
The Republic military base on Coruscant used ray shields to keep captives inside its prison cells.
In 19 BBY, Anakin Skywalker, Obi-Wan Kenobi, and the recently rescued Palpatine were captured by General Grievous in Hallway 328 of the Invisible Hand through the use of a ray shield to trap them in the middle of the hallway.
The Death Star's thermal exhaust port was protected by a ray shield, since a particle shield would prevent it from venting; therefore, Alliance proton torpedoes could penetrate it, a fact which was pivotal in the destruction of the battlestation.
Appearances
Sources
- A Guide to the Star Wars Universe
- The Star Wars Sourcebook
- Galaxy Guide 3: The Empire Strikes Back
- Galaxy Guide 6: Tramp Freighters
- Star Wars: The Roleplaying Game, Second Edition (As "energy shield")
- Dark Force Rising Sourcebook
- Galaxy Guide 7: Mos Eisley (As "ray-shield")
- Dark Empire Sourcebook (As "energy shield")
- The Movie Trilogy Sourcebook (As "ray-shield")
- Death Star Technical Companion, Second Edition
- Galaxy Guide 6: Tramp Freighters, Second Edition
- Star Wars Sourcebook, Second Edition
- Star Wars: Power of the Jedi
 Star Wars: Shadows of the Empire|Star Wars: Shadows of the Empire (Pack: Boba Fett's Slave I) (backup link)
- Star Wars Customizable Card Game — Hoth Limited (Card: Deflector Shield Generators) (backup link)
- Star Wars Customizable Card Game — Hoth Limited (Card: The First Transport Is Away!) (backup link)
- Star Wars Encyclopedia
- The New Essential Guide to Weapons and Technology
- Star Wars: The Ultimate Visual Guide
- The Official Star Wars Fact File 138 (DEF2, Deflector Shields)
- Star Wars Galaxies Trading Card Game — Champions of the Force (Card: Energy Shield) (backup link)
- Star Wars Galaxies Trading Card Game — The Price of Victory (Card: Deflector Shield) (backup link)
- The Complete Star Wars Encyclopedia
- Millennium Falcon Owner's Workshop Manual
- The Essential Guide to Warfare
- Star Wars: Edge of the Empire Core Rulebook
- Suns of Fortune
- Droid gunship in the Encyclopedia (content now obsolete; backup link)
- Umbarans in the Encyclopedia (content now obsolete; backup link)
- Umbaran starfighter in the Encyclopedia (content now obsolete; backup link)
- Star Wars: Imperial Handbook: A Commander's Guide
- Strongholds of Resistance
.JPG)
.JPG)