| | |
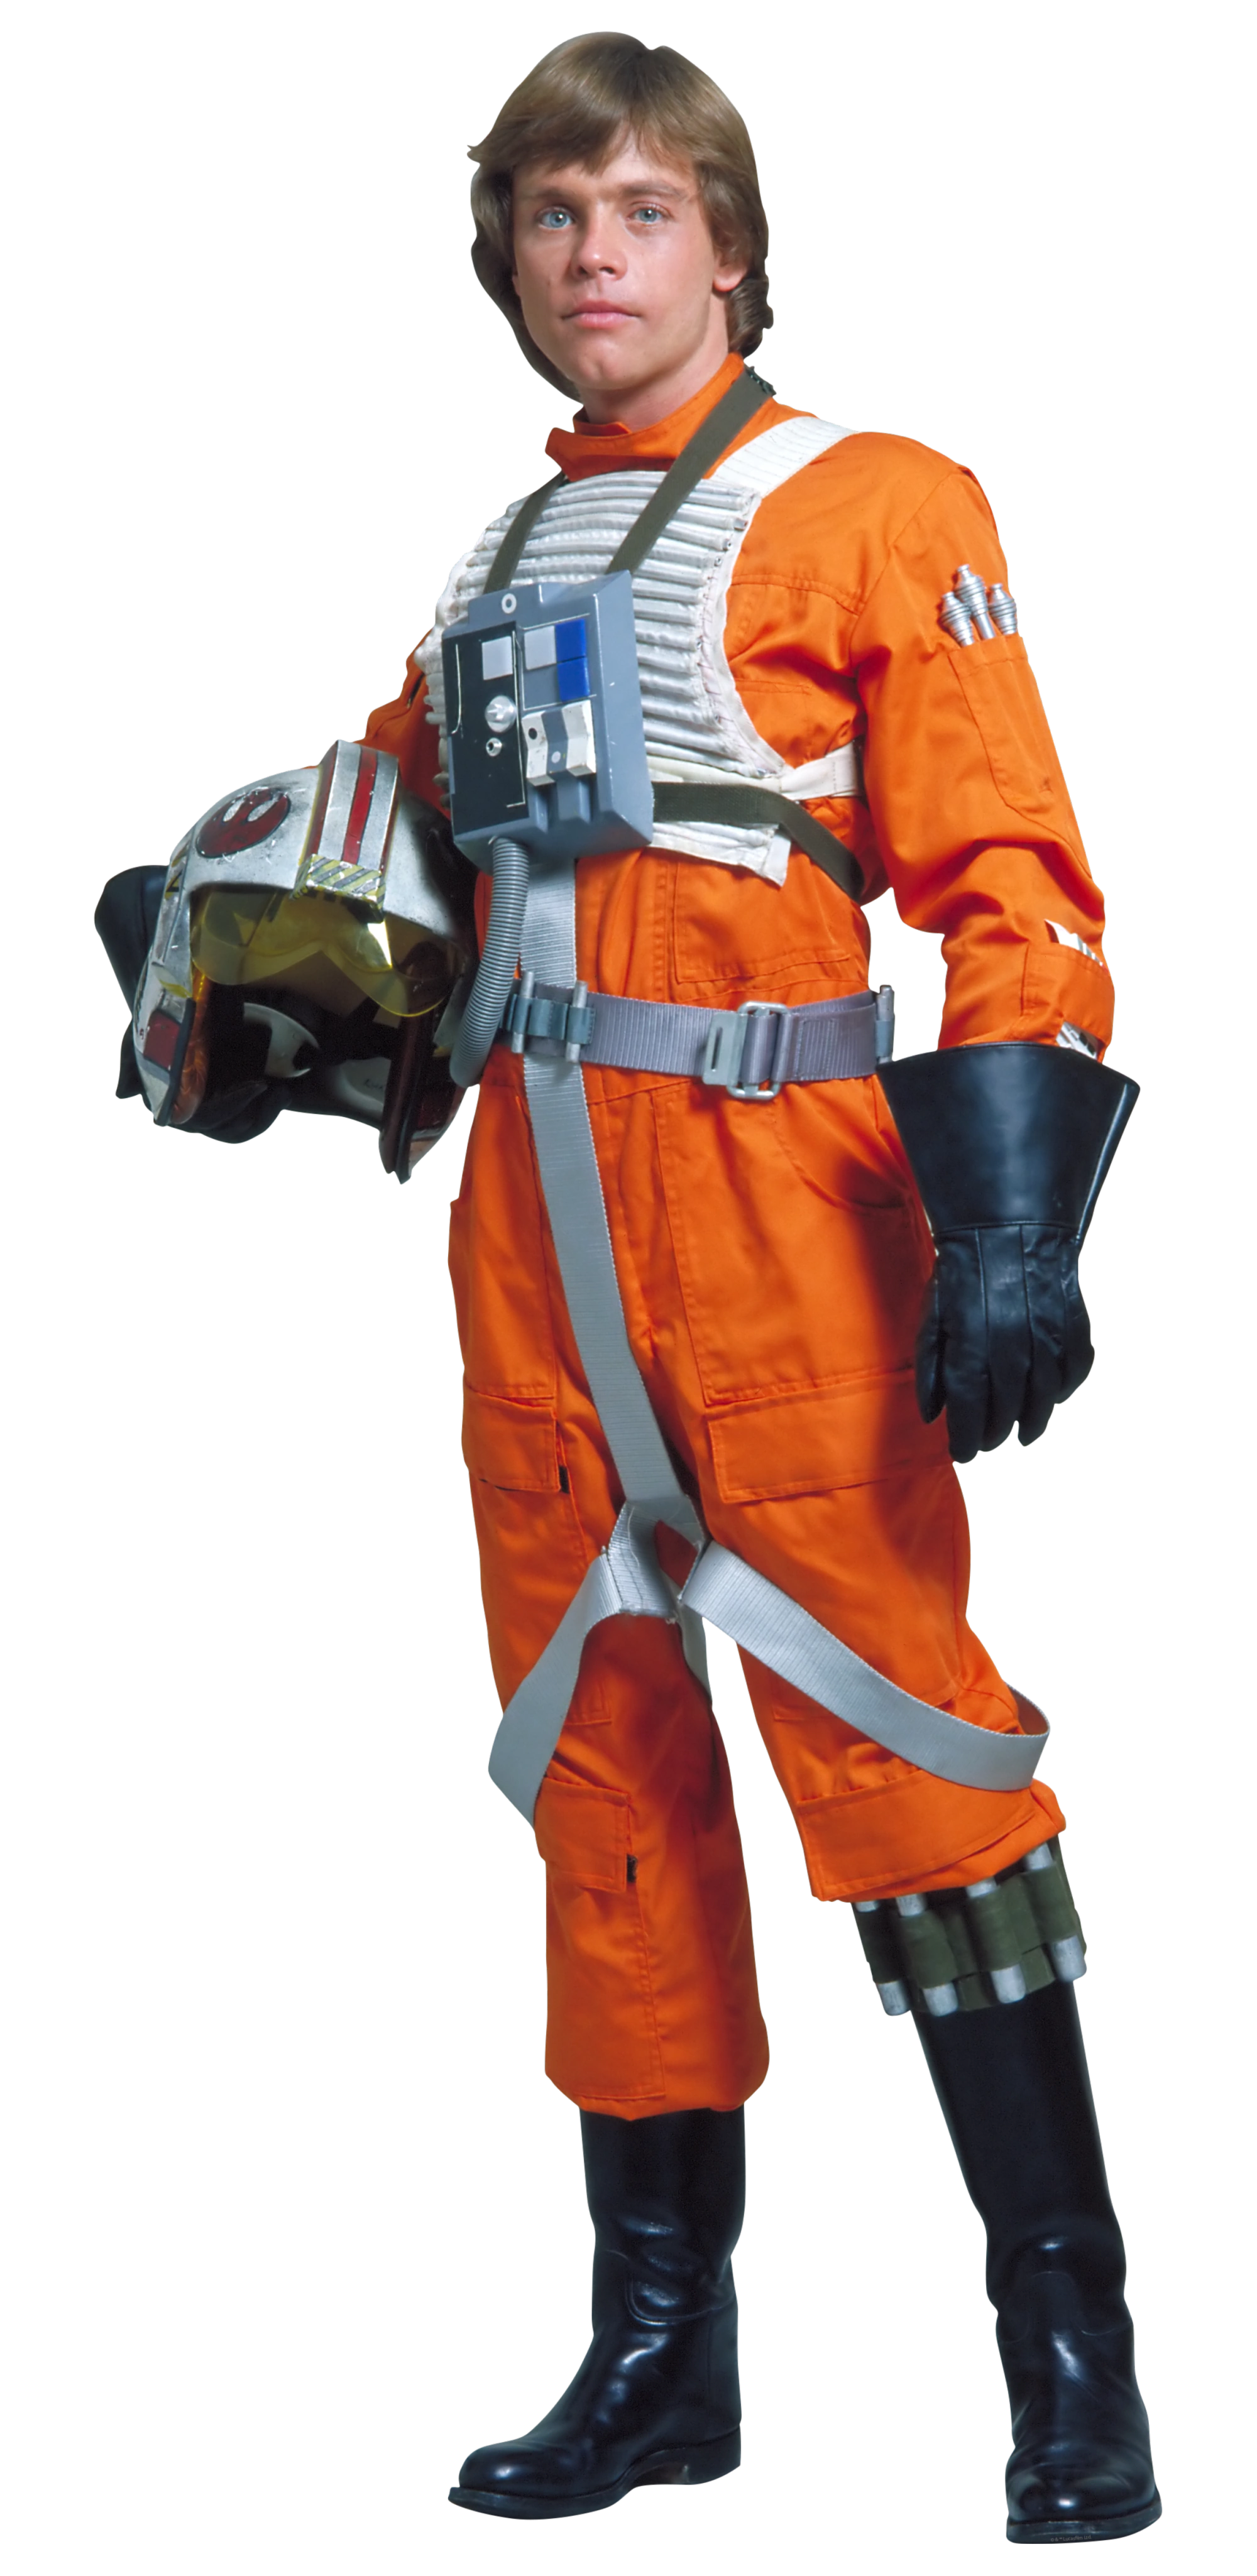
Luke Skywalker, a well-known rebel pilot
Rebel pilots were pilots who served the Rebel Alliance under the Alliance's starfighter corps. They fought in countless battles against the Imperial forces during the Galactic Civil War. They piloted fighters such as A-wing starfighters, B-wing starfighters, snowspeeders, X-wing starfighters, and Y-wing starfighters.[1]
History
Battle of Yavin
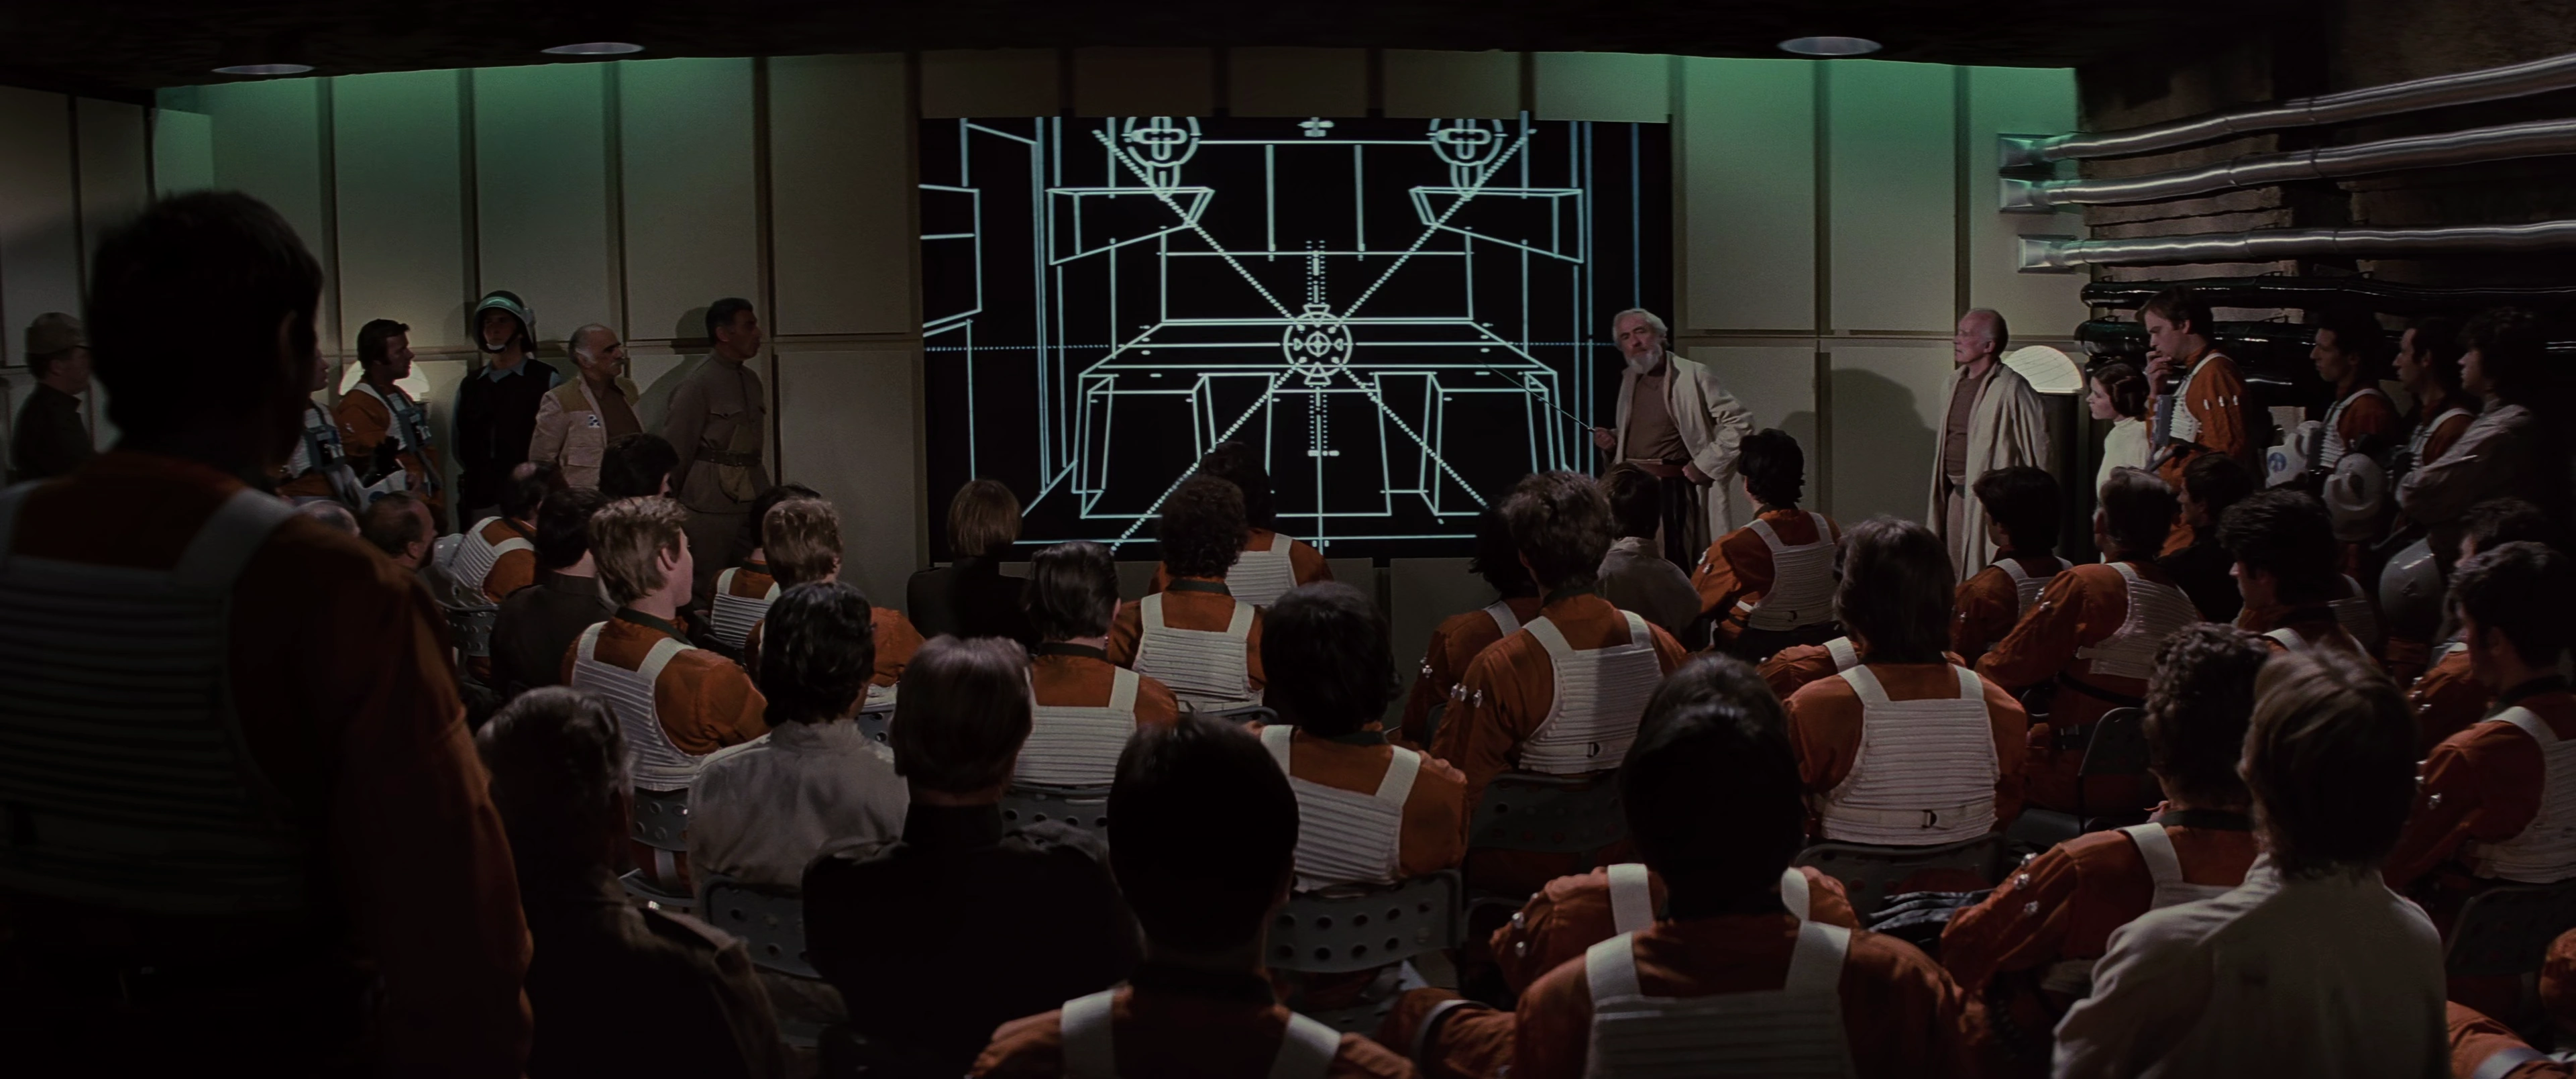
General Jan Dodonna explaining the weak spot of the Death Star.
Before the Battle of Yavin started, pilots of the Rebel Alliance were given a task to destroy the Empire's superweapon, the Death Star. With a valuable information R2-D2 provided, the rebels learned that the Death Star had a small exhaust port which might be a good spot to place proton torpedoes in order to destroy the space station.
Once the briefing ended, members of Red Squadron and Gold Squadron were assigned to their X-wings and Y-wings. Soon after they were launched to space, approached to their target, the Death Star, and began the attack. During the attack run on the station's surface, they encountered turbolaser defenses.

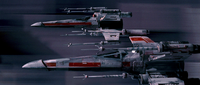
Red Squadron flying through the trench.
Due to the X-wings' small and fast body, the station's turbolasers weren't quite effective to their attackers. Noticing that fact, Darth Vader personally led a TIE/LN starfighter squadron in his TIE Advanced x1 to bring down the rebels himself.
During the race in the trench, Vader took down a considerable number of rebel pilots including Garven Dreis, leader of Red Squadron, and Biggs Darklighter, close friend of Luke Skywalker. After several take downs, Vader was ultimately aiming for Luke's fighter. But just before he could take an accurate shot, the Millennium Falcon, piloted by Han Solo, appeared from above, and took down one of his escort TIE fighter pilots. Thanks to Solo's distraction, Skywalker had a clear chance to fire torpedoes to the exhaust port. Aided by the Force, the torpedoes entered the exhaust port, reached the Death Star's main reactor, making the entire structure explode.
When the battle ended, the only surviving rebel pilots with the crew of the Millennium Falcon were Luke Skywalker, Wedge Antilles, and 1 Y-wing pilot.[2] After the Royal Award Ceremony, Rebel pilot Evaan Verlaine accompanied Princess Leia Organa in a mission to rescue the survivors of Alderaan.[3]
Battle of Hoth
Although the Rebel Alliance achieved a major victory at Yavin, they were eventually forced to abandon their base and settled down at a remote ice world of Hoth. They were found by one of the Imperial probe droids searching through the galaxy, and as a result, the Imperial Death Squadron came to the Hoth system.
Because of Admiral Kendel Ozzel's mistake, the Rebel Alliance noticed the approaching Imperials and activated a shield which could protect their base from orbital bombardments. With a plan to bombard the rebel base from orbit frustrated, Vader ordered General Maximillian Veers to lead the ground forces and knock out the shield generator.
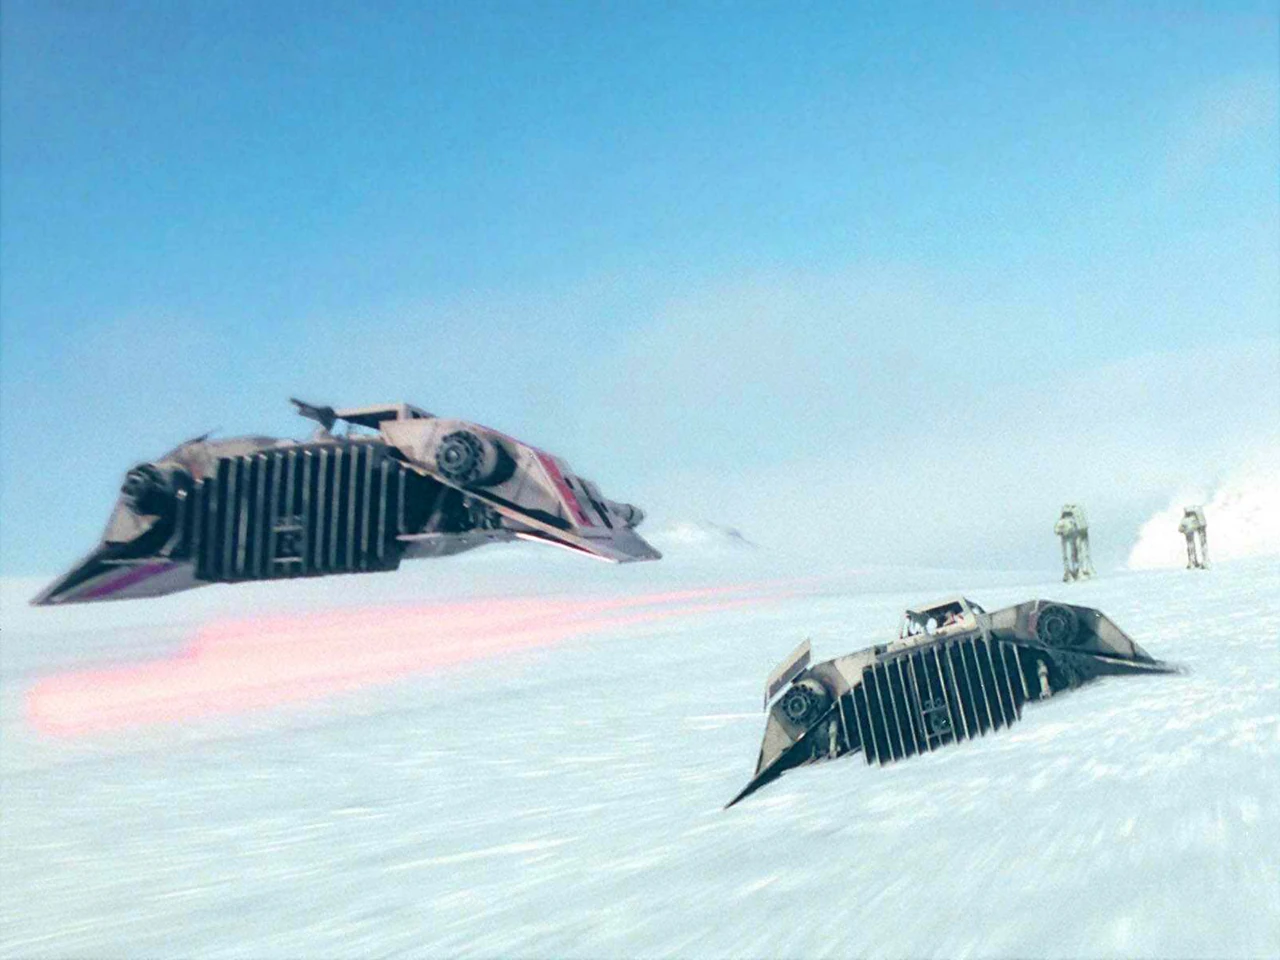

Rogue Squadron flying towards the Imperial walkers.
While the Empire was planning for an assault, the rebel defense line was building, and the rest were preparing for evacuation. When the rebels spotted the Imperial AT-AT walkers, rebel pilots employed T-47 airspeeders to face them.
Rogue Squadron, a group of snowspeeders, led by Luke Skywalker and Wedge Antilles, utilized tow cables to entangle the AT-ATs' legs to trip them down. This strategy was effective focusing on the weak point of the walker, but they were again eventually forced to either retreat or shot down.[4]
Battle of Endor
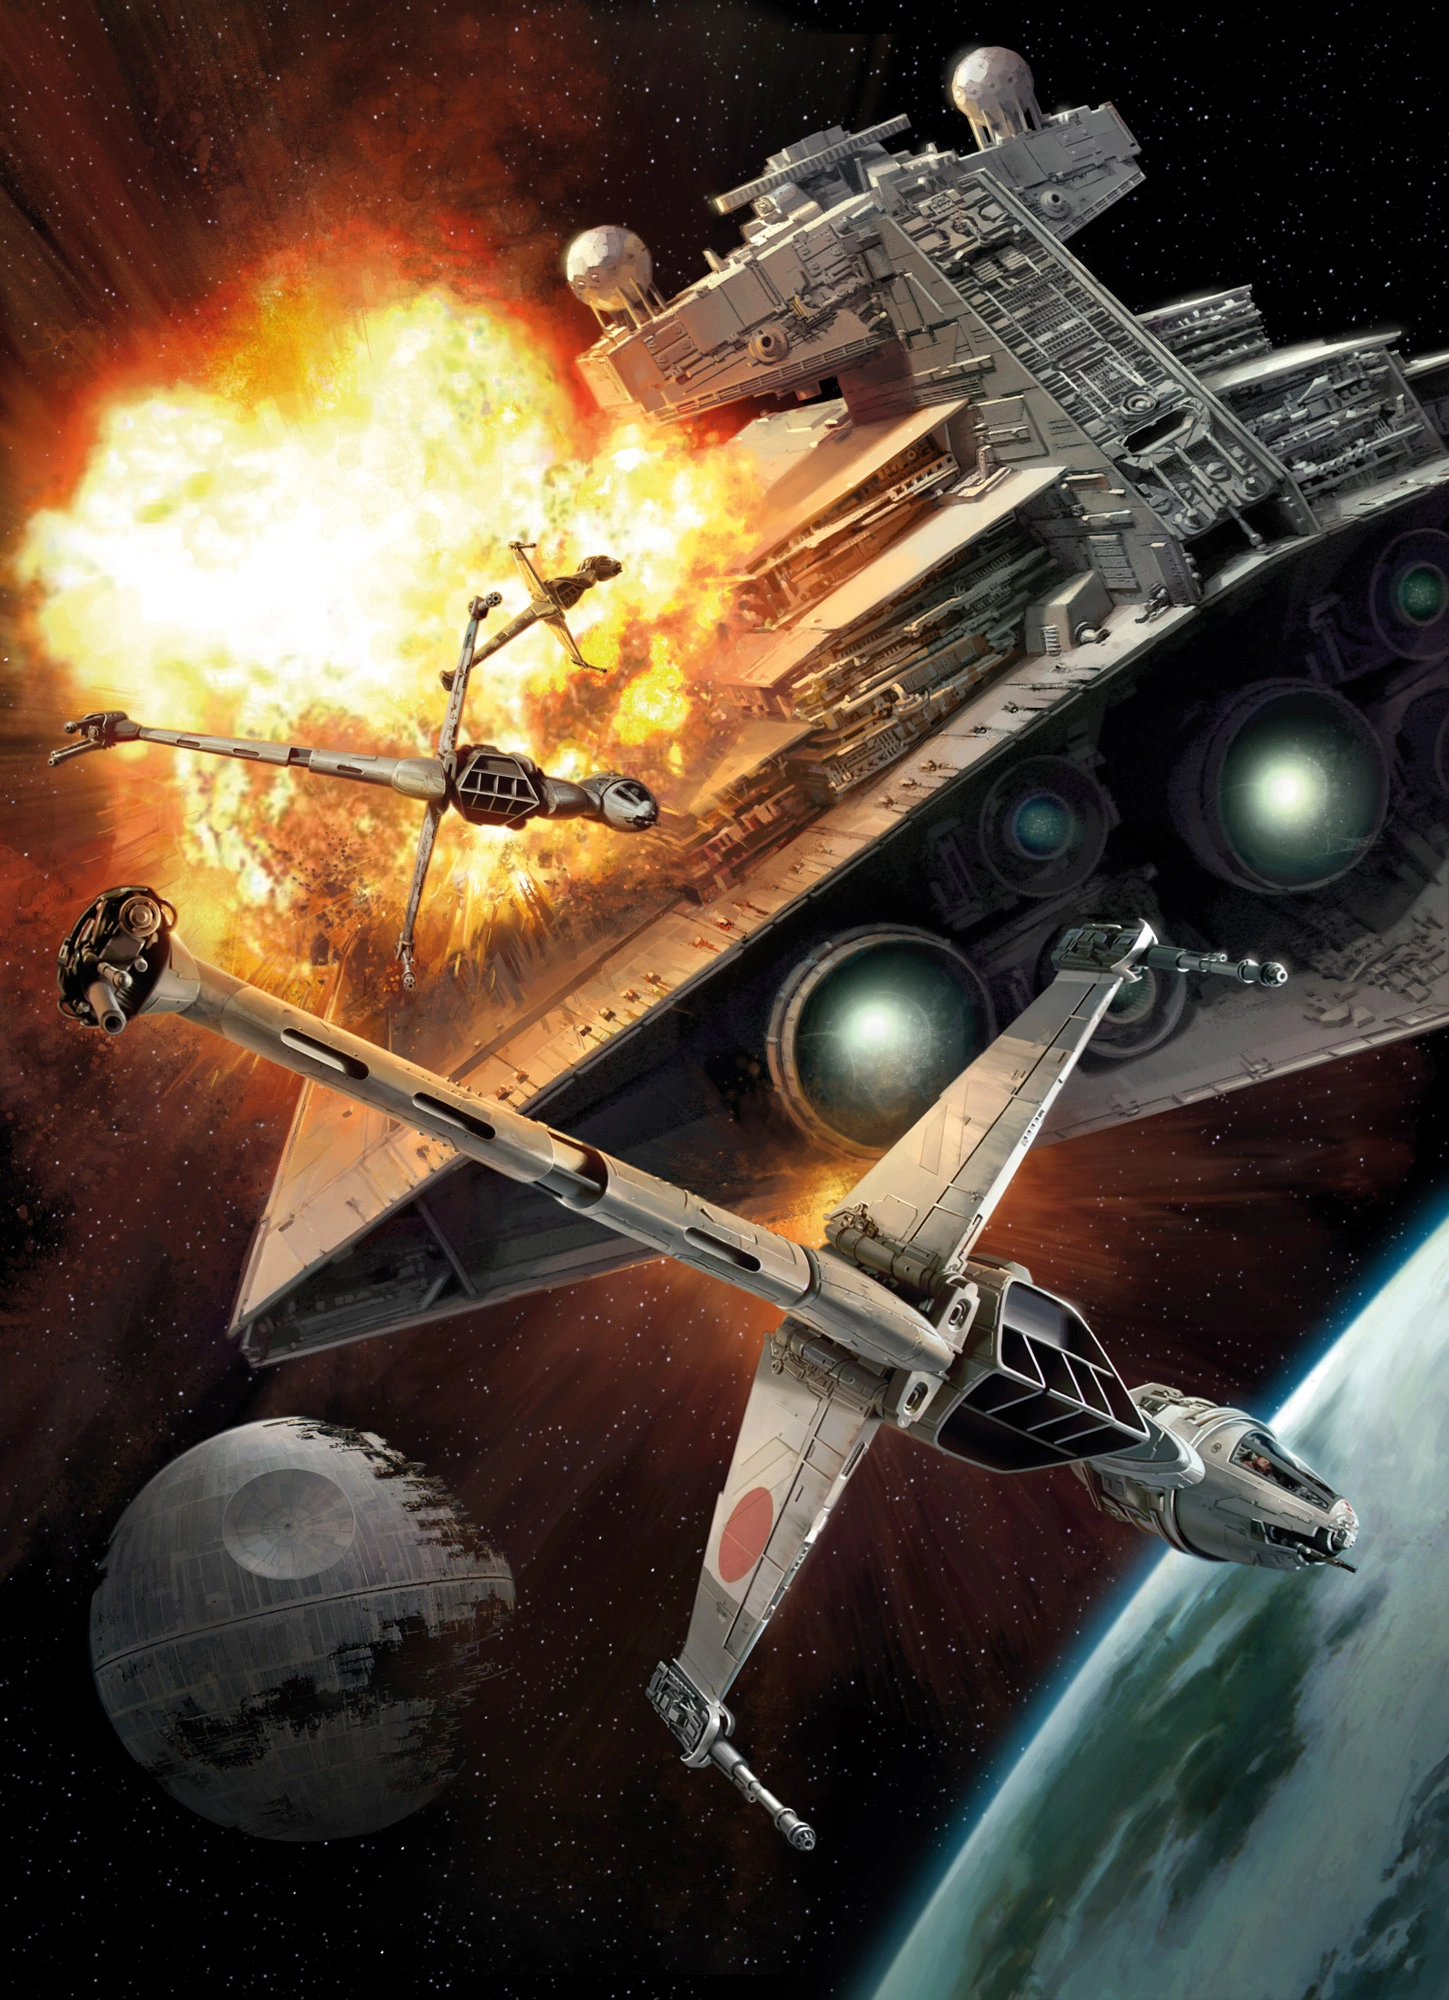

Devastator destroyed by members of Blade Squadron.
One year after the devastating defeat on Hoth, the Rebel Alliance gathered for planning a large-scale assault on the newly constructed Death Star II. Many of the Alliance Fleet were part of this attack, so as the rebel pilots under their service. When they were out of hyperspace in the second Death Star's vicinity, there was the Death Squadron waiting for them. Realizing that it was a trap, the fleet, led by Admiral Ackbar, and several rebel pilots with General Lando Calrissian in charge, engaged the Imperial fleet in point-black range.[5]
During the battle, Blade Squadron encountered the Imperial Star Destroyer Devastator commanded by Admiral Jhared Montferrat. Despite a disadvantage in firepower, two rebel pilots, Gina Moonsong and Braylen Stramm, managed to hit the Star Destroyer's navigational shielding, leading to the destruction of Devastator.[6]
When the Death Star's shield was down, several fighters entered the Death Star's superstructure with the Millennium Falcon, to reach the station's reactor core and destroy it. Meanwhile, A-wing starfighter pilot Arvel Crynyd flew his craft towards the Super Star Destroyer Executor's bridge. By his sacrifice, the bridge was destroyed, causing the massive star destroyer's death.
Inside the Death Star, X-wing pilot Wedge Antilles took a shot on the Death Star's power regulator. The second shot Millennium Falcon destroyed its main reactor, and they flew their way out. The Death Star exploded just after they came out, and later on Endor, the rebel pilots celebrated their victory with Ewoks and the rest of the Rebel Alliance.[5]
Appearances
- Star Wars: Episode IV A New Hope (First appearance)
- Star Wars: Princess Leia, Part I
- Star Wars: Princess Leia, Part II
- Star Wars: Princess Leia, Part III
- Star Wars: Princess Leia 4
- Heir to the Jedi
- Star Wars 1: Skywalker Strikes
- Star Wars 2: Skywalker Strikes, Part II
- Star Wars: Darth Vader 1: Vader (In flashback(s))
- Star Wars: Darth Vader 3: Vader, Part III (Mentioned only, in the opening crawl)
- Star Wars: Battlefront
- Star Wars: Commander
- Star Wars: Episode V The Empire Strikes Back
 "Blade Squadron" — Star Wars Insider 149–150
- Star Wars: Episode VI Return of the Jedi